Crop Production
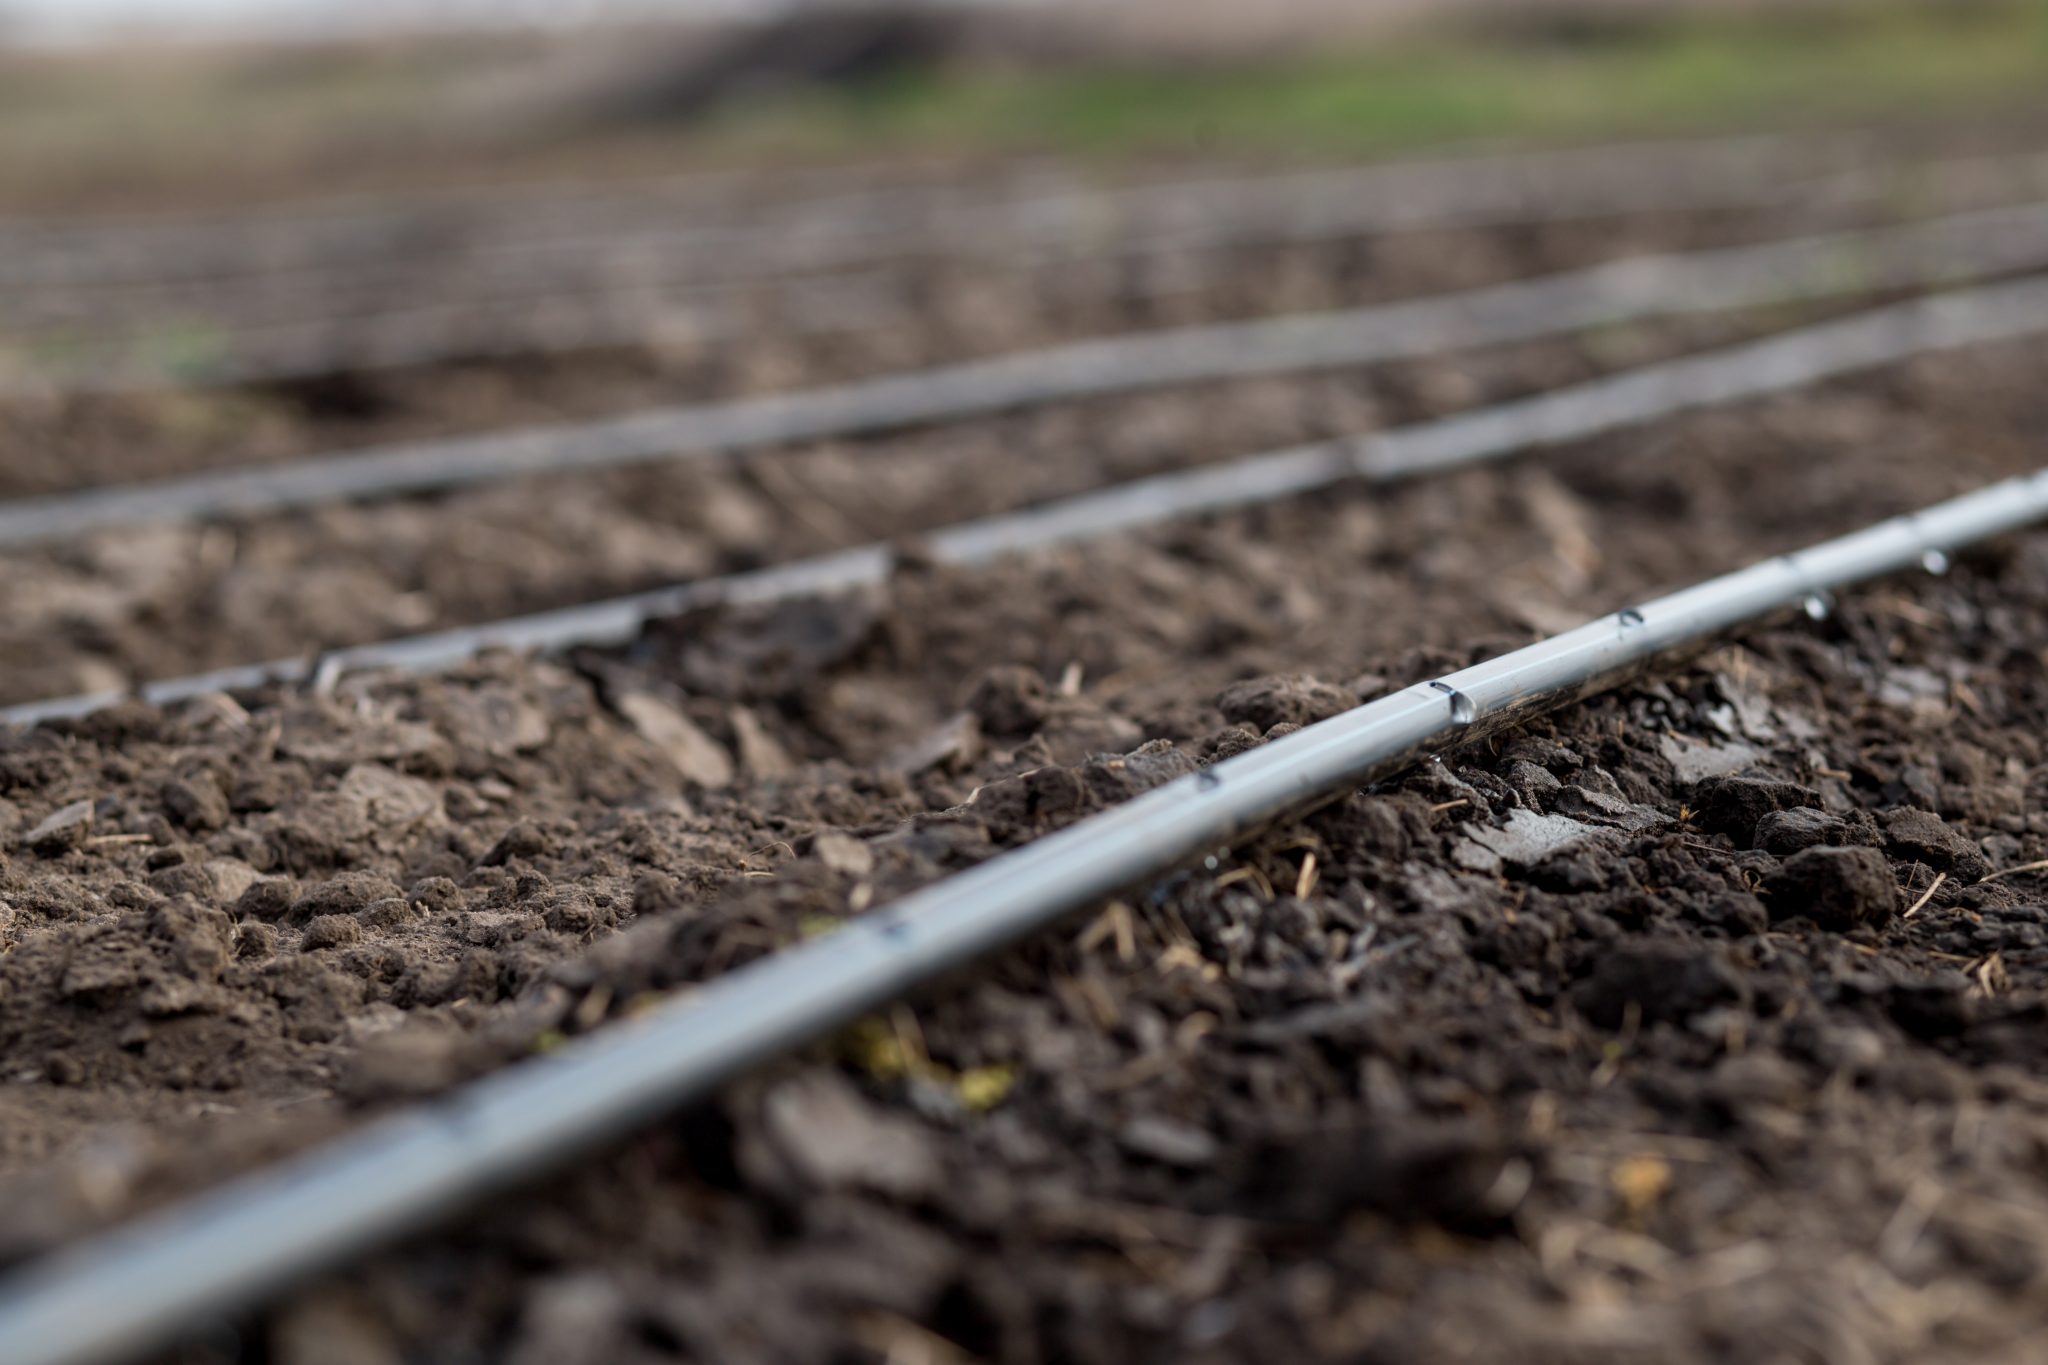
Drip irrigation is the slow delivery of water through plastic tubes directly to the roots of plants. It can save water, money, and time. Drip irrigation saves water because it reduces evaporation and sends water directly to the plant roots.
Drip irrigation can lower water costs if a farm uses municipal water. It helps reduce disease because the leaves of the plant stay drier. If a farm is using water from a pond, stream, or river, drip irrigation can reduce the spread of germs to the surface of edible leaves and fruits. Installing drip irrigation on a small acreage can be simple. Follow these easy steps.
Supply List
- 1 9/16-inch to 2 1⁄2-inch clamps
- 2-inch header plug
- Flathead screwdriver
- 2-inch male PVC couplet
- Teflon tape (also called plumber’s tape or thread-sealing tape)
- 3⁄4-inch female reducing end
- PVC glue
- 3⁄4-inch male PVC couplet
- 3⁄4-inch PVC pipe that has been cut to approximately 2 inches
- Check valve
- 3⁄4-inch female connector
- Regular garden hose
- Lay flat header pipe
- Drip tape
- Pipe wrenches
- Garden hoe
- Scissors
- 2-inch barbed splice fitting
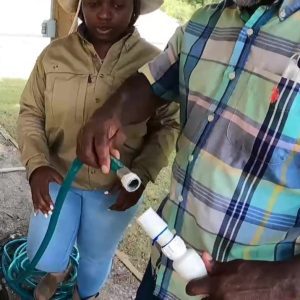
How to Attach a Lay Flat Header Pipe to a Garden Hose Faucet
Step 1. Begin by using a clamp to attach a gray barbed connector to a lay flat header. If it is hard to get on, use food grade lubricant such as vegetable oil. Tighten the clamp.
Step 2. Wrap Teflon tape around the threads on a 2-inch male PVC couplet. The tape must go on clockwise so it will not bunch up when you screw it into the gray barbed connector. Use pipe wrenches to make sure it is tight.
Step 3. Apply PVC glue to the outside of the 3⁄4-inch female reducer threading and the inside of the 2-inch male PVC couplet.
-

- Step 1
-
- Step 2.
-
- Step 2. (cont’d)
-
- Step 3.
Step 4. Wrap the threads of a 3⁄4-inch female connector with Teflon tape. Screw it into the reducer.
Step 5. Apply more PVC glue to attach a short 2- to 3-inch piece of PVC 3⁄4-inch pipe.
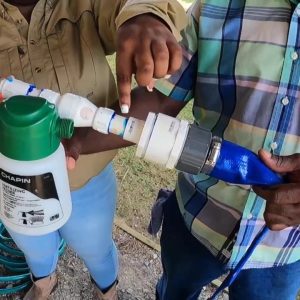
Optional Step. If you want to add fertilizer to the irrigation system, attach the unit in the center of the pipe.
-
- Step 4.
-
- Step 5.
-
- Optional Step.
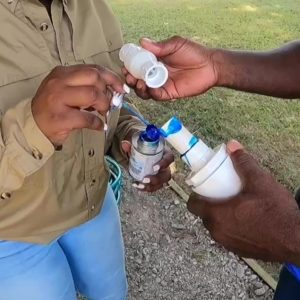
Step 6. Apply more PVC glue to attach the backflow preventer or check valve to the PVC. The valve must allow flow in the correct direction, so double- check the direction that the arrow points.
The backflow preventer keeps irrigation water from re-entering or backflowing into the water supply. Backflow, sometimes called back siphoning, happens when there is negative pressure or pressure loss on the supply side of the irrigation system. Without a functioning backflow preventer, you might contaminate the water supply.
Make sure that you install the backflow preventer in the correct direction. When installing it, look for the manufacturer’s stamped directional arrow located on the side of the backflow preventer. The arrow is the direction of water flowing through the pipe.
Step 7. Apply PVC glue to attach another short piece of PVC pipe and then a 3⁄4-inch female connector.
Step 8. Make sure the water hose or faucet is clean. Add Teflon tape to the threads.
-
- Step 6.
-

- Step 7.
-
- Step 8.
Now that you have the lay flat header pipe attached to a garden hose faucet, visit the next section to learn how to plug the end of the header pipe.
How to Plug the End of a Lay Flat Header Pipe
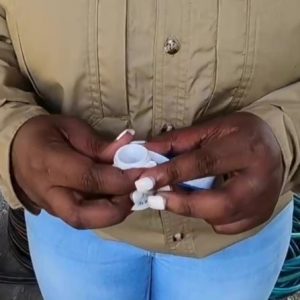
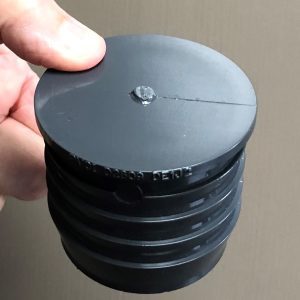
Step 1. Double-check that your connector, fitting, and plug are the same diameter as the pipe you are using. Header pipe comes in many sizes, but 2-inch is common.
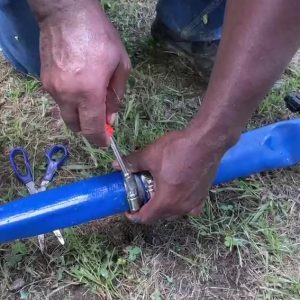
Step 2. Wrap Teflon tape around a threaded cap, screw it into the gray barbed fitting, and tighten it with a pipe wrench.
Step 3. Place the clamp on the lay flat pipe. Put the barbed cap inside the end of the pipe. This part can be tricky, so gently twist and push the connector in until the pipe is snug against the connector fitting. Food grade lubricant such as vegetable oil on the outside of the connector can help it slide on the pipe.
Step 4. Push the clamp to the top of the fitting. Use a flathead screwdriver to tighten the clamp.
-
- Skip step 2 if you use a one-piece cap fitting.
-

- Step 3.
Now that the lay flat header pipe is plugged, visit the next section to learn how to patch a leaking header pipe.
How to Patch a Lay Flat Header Pipe
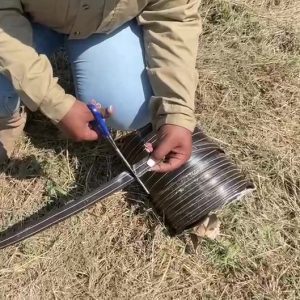
Step 1. Identify exactly where the leak is in the lay flat header pipe.
Step 2. Cut the lay flat in half right over the leak point.
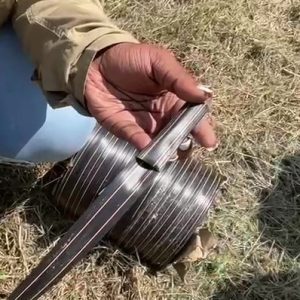
Step 3. Use a coupling or barbed splice fitting to join the two parts back together. Take two clamps and insert them on both sides of the pipe. Insert the barbed splice fitting into one side and then the other. Push both sides of the lay flat together over the fitting. A little vegetable oil will help the lay flat slide on the fitting.
Step 4. Move the pipe clamps just past the barbs. Tighten them with a screwdriver.
Step 5. Turn the water on to make sure it worked.
-
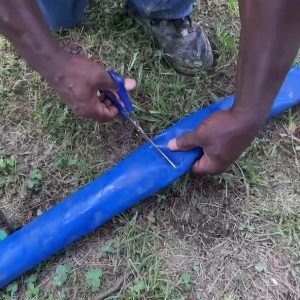
- Step 2.
-
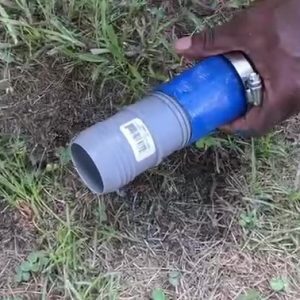
- Step 3.
-
- Step 4.
Now that you know how to patch a lay flat header pipe, visit the next section to learn how to attach drip tape to a lay flat header pipe and plug the end of the tape.
How to Attach Drip Tape to a Lay Flat Header Pipe and Plug the End of the Drip Tape
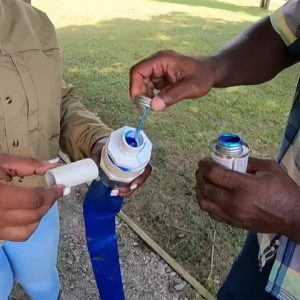
Step 1. Use a Phillips head screwdriver to punch a hole in the lay flat header. Leave the water on to make it easier to punch the hole. Use a screwdriver with a slightly smaller head than the fitting so it won’t leak around the fitting.
Step 2. Attach the drip tape to the fitting by twisting the fitting to the right so it won’t come off when you turn on the water.
Step 3. Push the fitting into the hole. Listen and feel for a pop when the fitting slides in the hole.
-
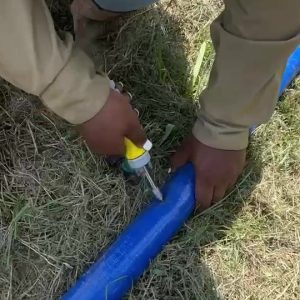
- Step 1.
-
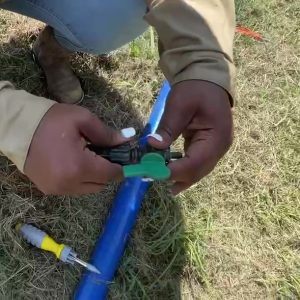
- Step 2.
-
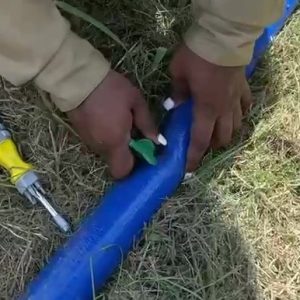
- Step 3.
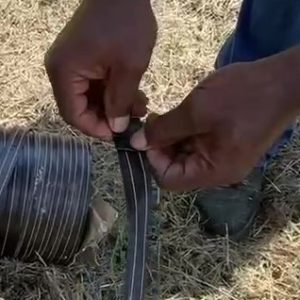
Step 4. Now go to the end of the drip tape line to plug it. To plug the end of the drip tape, be sure that the water is off. Cut off a 1- to 2-inch piece from the end.
Step 5. Fold the tape over twice and then in half so it will easily slip inside the cutoff piece.
Step 6. To make sure that the drip tape stays in place, turn the water on and get all the kinks out. Do this to make sure that water is flowing to the end of the drip tape and you have it placed where you want it.
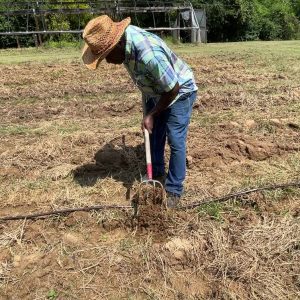
Step 7. Use a regular garden hoe or rake to place soil about every foot on top of the drip tape to weigh it down so high wind will not move it. Do not hit the tape with the hoe.
-
- Step 4.
-
- Step 5.
-
- Step 5. (cont’d)
-
- Step 7.
Now that you have installed an irrigation system, visit the next section to learn how to sample the water for safety.
Sampling the Water for Safety
Be sure that the water you use to irrigate produce fields is safe from germs. Take a water sample from time to time and send it to a lab for testing.
Step 1. Call the lab you want to use to make sure that it can process your sample. Most labs have rules for how fresh the water sample should be, so ask them about hold times.
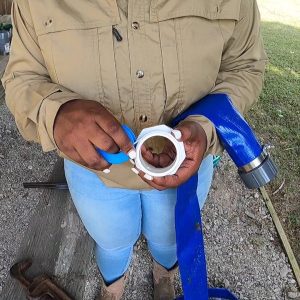
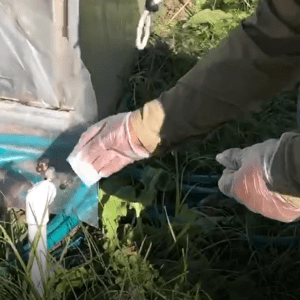
Step 2. Use disposable gloves or have clean hands to sanitize the faucet inside and out with an alcohol prep pad or undiluted chlorine bleach to make sure that contamination does not get into the bottle.
Step 3. Open the tap fully and let the water run for about 3 minutes to flush the faucet and pipes.
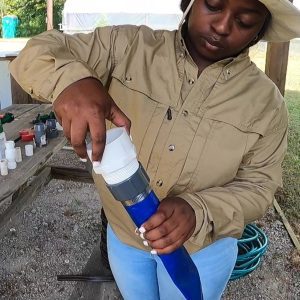
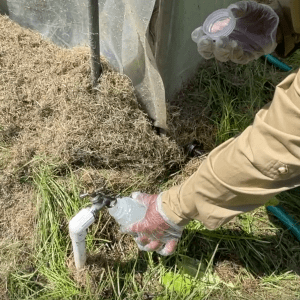
Step 4. Reduce the flow so the water will not splash when you take a sample. Uncap the sterile sample bottle without touching the inside of the bottle. Cap and fill the bottle until almost full. Recap the bottle.
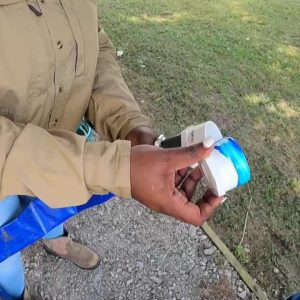
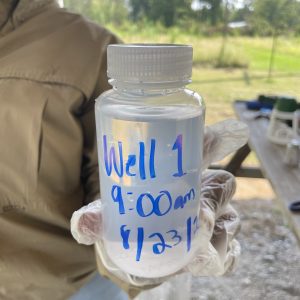
Step 5. Label the bottle with the name of the farm or water source, date, and time you took the sample.
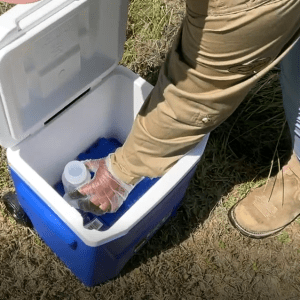
Step 6. Put the bottle inside a cooler with ice packs. Send it to the lab.
-
- Step 2.
-
- Step 4.
-
- Step 5.
-
- Step 6.
More Information
Check out the Small Farm Irrigation short video series on the Alabama Cooperative Extension System YouTube Channel to see each process step by step.
Funding to install drip irrigation may be available from the USDA Natural Resource Conservation Service (NRCS). The NRCS will require that the installation meet its advanced standards that are available in the NRCS National Engineering Handbook on the USDA website.

 Kristin Woods, Regional Extension Agent, Commercial Horticulture; Camila Rodrigues, Extension Specialist, Assistant Professor, Horticulture; Bridgette Brannon, Regional Extension Agent, Food Safety and Quality; Olivia Fuller, Regional Extension Agent, Commercial Horticulture; and Eric Schavey, Regional Extension Agent, Commercial Horticulture, all with Auburn University; and Clatedra Tucker, Deep South Food Alliance
New February 2022, Step-by-Step Guide to Small Farm Irrigation, ANR-2860
This resource is supported by the Food and Drug Administration (FDA) of the U.S. Department of Health and Human Services (HHS) as part of an award totaling $25,000 received from National Farmers Union with less than 100 percent funded by FDA/HHS. The contents are those of the author(s) and do not necessarily represent the official views of, nor an endorsement, by FDA, HHS, or the U.S. Government. For more information, please visit FDA.gov