Lawn & Garden
Planting times and tips for growing annual plants from seeds.
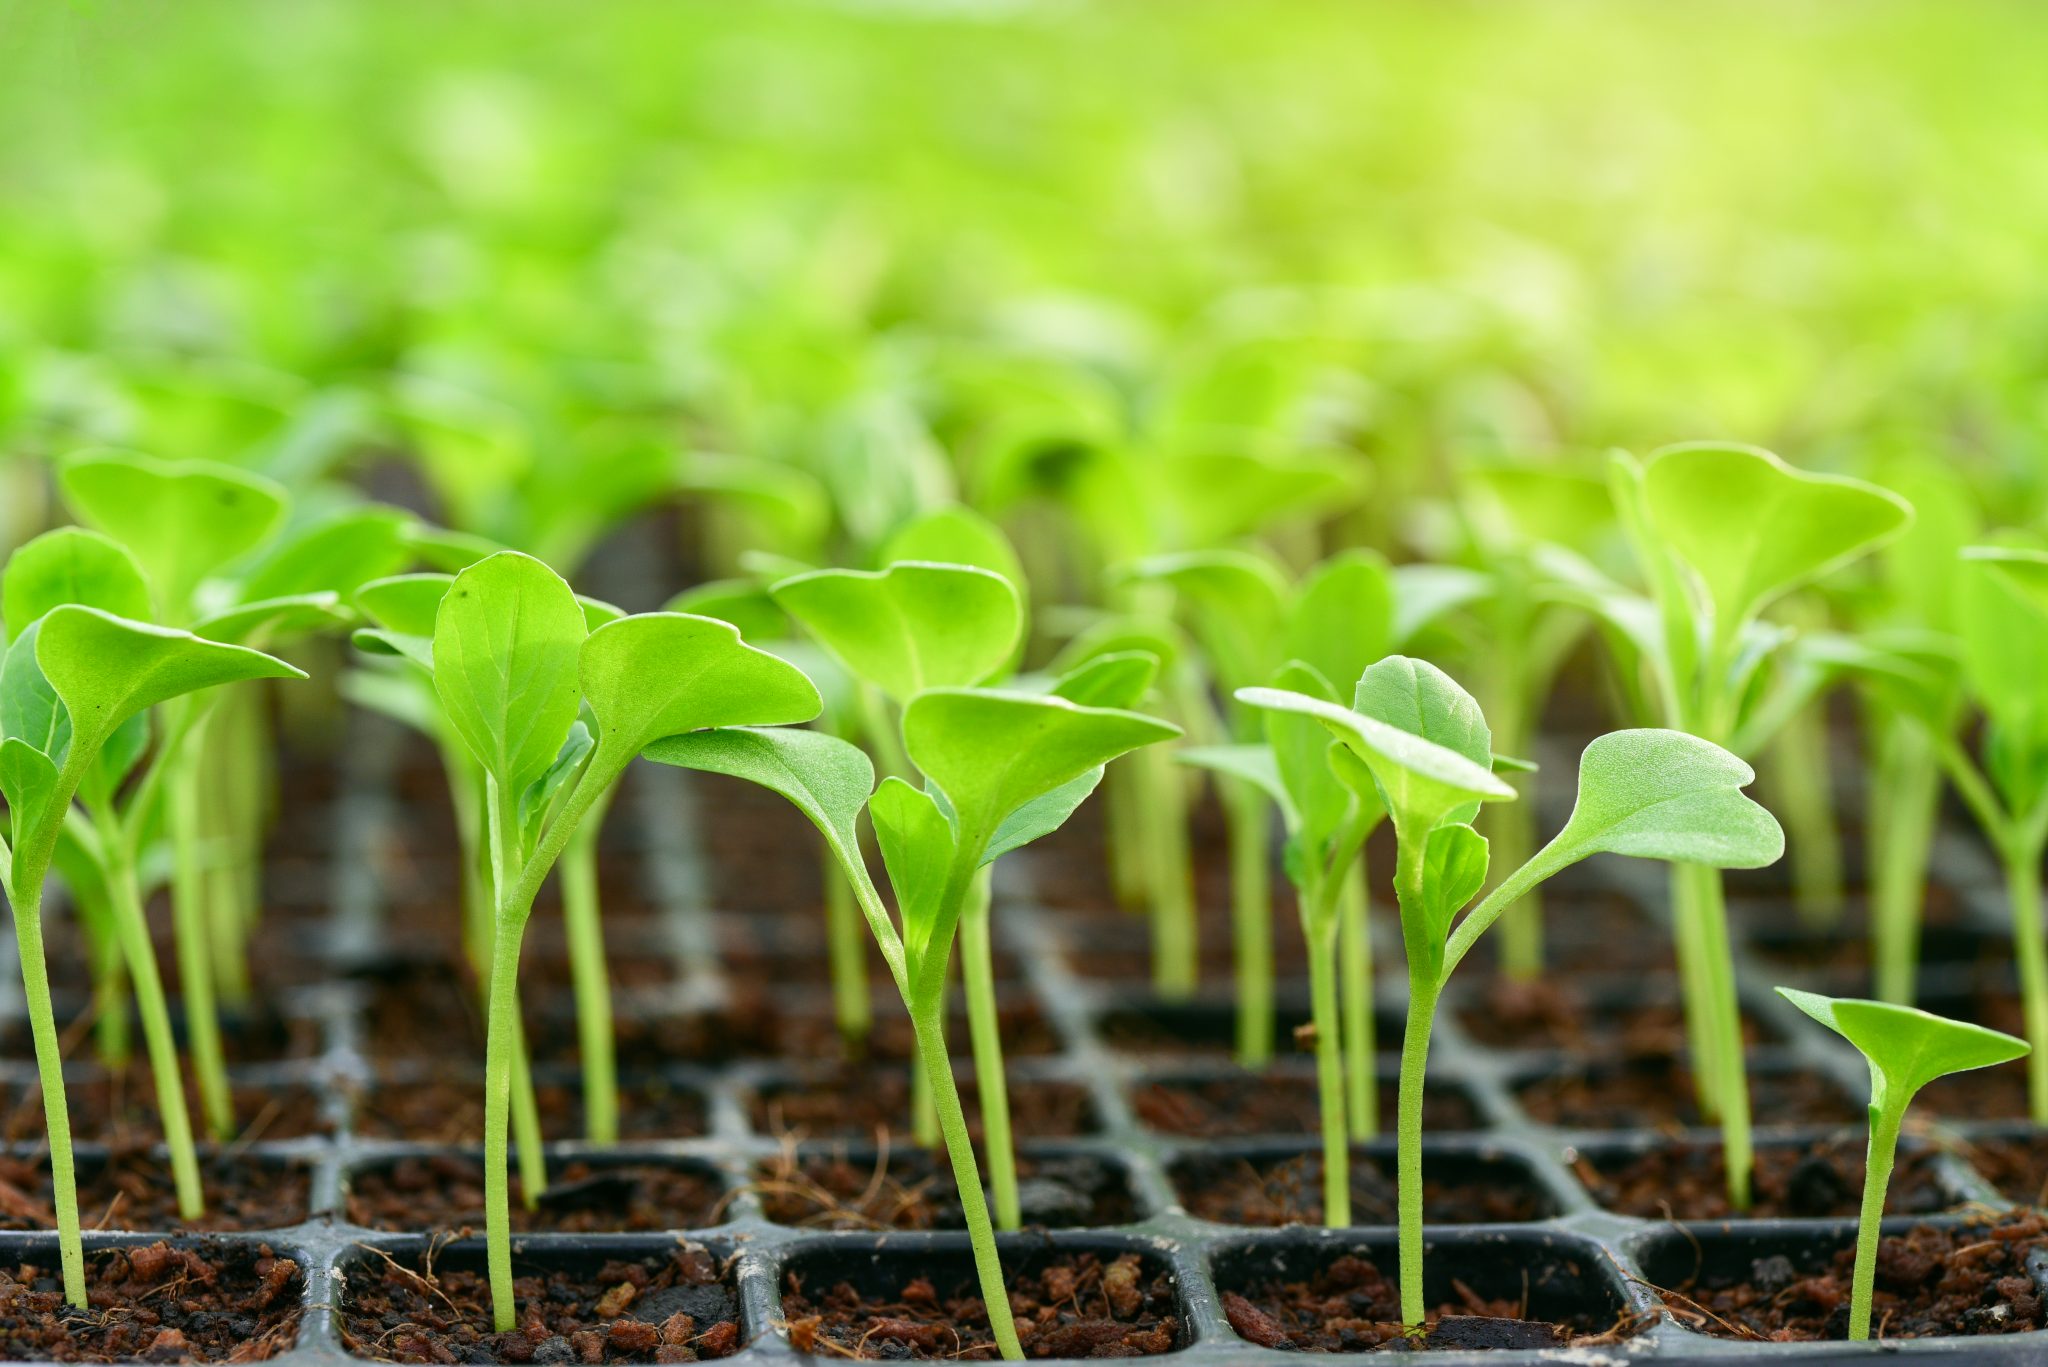
Many annual plants are easy to start from seeds in a home window or a greenhouse. Seeds are readily available online or saved from year to year. Starting bedding plants from seeds provides the opportunity to grow a wider variety of cultivars at a lower cost than purchasing from a retail outlet.
Begin with fresh seeds. Label the seed packages with the current date at the time of purchasing so you will know how old the seeds are in the future. Bedding plant seeds vary in how long they remain viable, but germination rates often decrease after 3 years. Seed containers should be stored in dry, cool places such as the vegetable crisper of the refrigerator. Seed storage containers should have sealable lids. Never store seeds in the freezer. Include a desiccant (drying agent) in the storage container, such as a package of silica gel.
Check seed packages to determine when to start the seeds so they will be ready for the appropriate planting date listed in Table 1. Sow seeds in a fine potting soil such as a seed starting or germination mix. These mixes also have a higher water-holding capacity than regular potting mixes. Sow the seeds into plastic seedling germination trays for best results.
Table 1. Planting Dates for Annuals in Alabama
| Region | Semi-Hardy Spring Annuals | Tender/Summer Annuals | Semi-Hardy Fall Annuals | Hardy Winter Annuals |
|---|---|---|---|---|
| North Alabama | March 1 | May 1 | September 1 | October 1 |
| Central Alabama | February 20 | April 15 | September 15 | October 15 |
| South Alabama | February 10 | April 1 | September 25 | October 30 |
Different strategies are needed for their germination because seeds come in a variety of sizes. Large seeds can be sown individually at a depth of about 2 to 3 times the seed’s width directly into pots or plug trays. Seeds that are too small to handle separately can be sown into rows in an open flat filled with germination mix. Form shallow trenches in the mix and sow seed in a row before covering very lightly. They can be separated into individual containers once the seedlings are large enough to transplant. Refer to the directions located on the seed packet for planting depth of individual species.
Planting Annuals
- Set the containers in a shallow pan of water to allow water to be absorbed through the drainage holes after seeds are sown.
- Move the container to a warm place with bright, indirect light once surface soil is moist.
- Cover the container with a humidity dome or a piece of plastic wrap to raise humidity.
- Crack the humidity dome to reduce relative humidity once the first seedlings begin to germinate. Remove humidity dome altogether once all the seedlings have germinated.
- Place germinated seedlings into the light recommended for each species to prevent stretching (spindly, elongated growth).
- Begin liquid fertilization after two mature leaves have unfolded. A complete, water soluble fertilizer (such as 20-20-20 or 15-30-15) mixed at one fourth the recommended concentration is best. Apply fertilizer every three out of four times the medium (where plant grows) requires watering.
- Seedlings sown in rows in open flats should be transplanted to individual containers as soon as they are large enough to be handled (2 to 3 mature leaves). Lift seedlings out of the medium using a spoon, retaining as much of the root system as possible. Pick up seedlings by the leaves, not the stems.
- Plant the seedlings into cell flats or pots containing standard potting media at the same depth that they were growing in the open flat. Water carefully and deeply, so the entire soil column is wet, and place them in light appropriate to the species. Begin fertilizing with a water-soluble fertilizer (fertilizer that is mixed with water before it is applied) within a week of transplanting, using a concentration that is one-half the recommendation on the fertilizer package. Grow transplants in a large window, a cold frame, a hot bed, or a hobby greenhouse until they reach the appropriate size to be transplanted into the garden.
- Transplant annuals as soon as they have filled their containers and have sufficient root development. Drop a few plants out of their containers periodically and examine the roots. The well-developed root system will come out of the pot as one unit, and the mix should be covered in roots.
Care should be taken to slowly harden plants off to the outside environment. Exposing plants too quickly to increased amounts of wind and sunlight can be fatal. If plants have been grown indoors, begin by moving them outdoors into a sheltered location with full shade and moderate temperatures; moving them back inside if excessive cold is expected. Slowly move them into full sun, or whatever sunlight is recommended for the species over the timespan of one week.
A few bedding plant species, such as sunflowers and zinnias, dislike transplanting and perform best when seed is sown directly into the garden. A common mistake in direct sowing is sowing seed too deeply. Check packaging for proper planting depth. Water these seeds immediately and take care not to let them dry out between waterings.
Simple Seed Germination Test
Place 10 seeds on a moist paper towel. Roll it into a tube, and place it in a sealable plastic bag if you are uncertain about the viability of older seeds. Beginning with the earliest germination period stated on the seed packet, check seeds every couple of days until complete germination occurs. Count the germinated seeds to see how many of the 10 seeds germinated. If 50 to 80 percent germinated, plan to sow more seeds than the plants you need. If the germination rate is less than 50 percent, throw away the old seeds and order new seeds.
Allyson Shabel, Urban Regional Extension Agent, Alabama A&M University. Originally written by J. Raymond Kessler, Jr., Ph.D., Horticulture Professor, Auburn University
Reviewed August 2024, Growing Annual Plants from Seeds, UNP-2163