Landscaping
Food scraps make up 21.6 percent (63.1 million tons) of all municipal solid waste in the United States. The Environmental Protection Agency estimates that only 4 percent of food waste is recycled compared to 68 percent of paper and cardboard. The result: a missed opportunity and a wasted resource. The solution: vermicomposting.
Why Composting?
Vermicomposting is a natural process that uses worms and microorganisms to turn waste material, such as food scraps, into valuable soil amendments. The finished product is primarily made up of worm castings (earthworm manure). This recycled organic matter is rich in soil nutrients and looks like dark, fine-textured clay.
Compared to the traditional compost bin or pile, vermicomposting offers these advantages:
- Needs less space
- May occur more rapidly than the traditional compost pile or bin
- Requires less labor
- Produces worms for fishing or fish food
What Type of Worms Can Be Used? Where Can They Be Found?
The best species of worms for vermicomposting can thrive in confined quarters and have a voracious appetite for kitchen scraps. Only a few earthworm species have these abilities.
The most adaptable and readily available species is Eisenia fetida, commonly called red wigglers, manure worms, or brandling worms. These worms prefer dark, moist (not wet), organically rich environments. Many sources are available online. Always purchase worms from a reputable domestic compost worm supplier, preferably one who sells worms by the pound.
How Many Worms Do I Need to Handle the Food Scraps We Produce?
The number of worms needed depends on the amount of food scraps generated. Red wigglers can consume 25 to 50 percent of their body weight per day. As an example, a bin with two pounds of worms can consume between one-half pound and one pound of food scraps per day.
Be conservative on the amount of waste added because it is easy to overfeed them, causing odor and excess moisture problems. Wait until it appears that all food has been consumed before adding more. Their consumption might vary from day to day.
What About the Worm Bin?
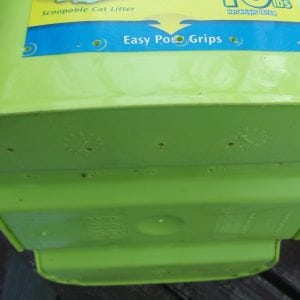
Bins can be purchased from commercial manufacturers but are easy to build from untreated wood or a retrofitted dark-colored plastic storage container. A typical 14-gallon plastic storage container has about 3 square feet of space and is a perfect home for one to two pounds of worms. Be creative! Almost any plastic container in this size range can work (figure 1).
Containers should have ventilation holes in the sides near the top and a few small drainage holes in the bottom (figure 2). Elevate the bins off the ground or floor to allow drainage and air movement. If they are indoors, put a waterproof tray under the bin to collect any leachate (figure 3).
-
- Figure 1. Almost any plastic container can make a good worm bin.
-
- Figure 2. Containers need proper drainage in the bottom.
-
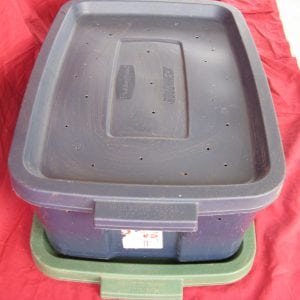
- Figure 3. A waterproof tray under the bin can collect liquid from the bin.
If located outdoors, place the bin in an area that is out of direct sunlight, will prevent water from running into or pooling in the bin, and avoid temperature extremes (below 40 degrees F or above 95 degrees F). Indoor locations are convenient and provide the best temperature for vermicomposting, but they can be problematic. If the environment is not correct, worms may attempt to escape, and fruit flies can be an issue if excess food is exposed or left uneaten. An unheated attached garage may provide the best environment.
Remember that as temperatures go further below or above the optimum range (59 to 77 degrees F), the worms decrease the amount they eat and breed. This can affect survival. The moisture level in the bin is also important. The bin should never be drier than 60 percent humidity or wetter than 90 percent humidity (about as moist as a wrung-out sponge). Oxygen is critical, so ensure good airflow. Feed the worms gradually to maintain proper pH (acidity and alkalinity). Excess food (or the wrong food) that sits too long is often the cause of improper pH, ammonia, and salt levels.
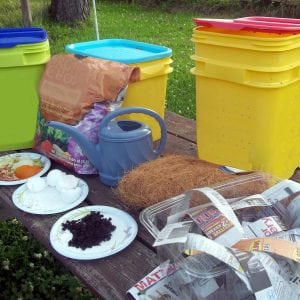
What Goes Inside the Bin?
Suitable bedding material provides an environment for worm growth and covers food waste. Shredded newspapers (not shiny magazines) and cardboard are good materials.
Tear newspaper in long strips about 1 to 2 inches wide. Tear or cut cardboard into small pieces. Cardboard is a favorite food and habitat for red wigglers. Soak the bedding material in water and wring out the excess (figure 4). Loosely fill the bin half full of bedding (figure 5).
Add the worms to the bin, any organic bedding material from their original container, and a handful of garden soil. Cover them with a handful of fresh bedding to help them acclimate to their new home.
-
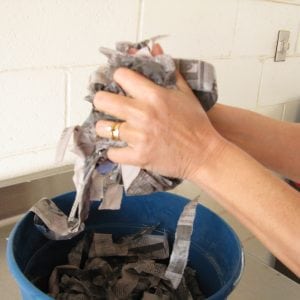
- Figure 4. Soak bedding material and wring out excess water.
-

- Figure 5. Fill compost bin half full with bedding material.
How Do I Feed Them?
Add food by placing a small mound of scraps in each corner of the bin or by spreading the scraps in a thin layer (1 inch or less) on top of the bedding. Always cover the scraps with bedding to prevent nuisance pests, such as fruit flies.
Add more food when you notice most of the previously added food has been consumed. Overfeeding the worms leads to rotten scraps, a smelly bin, escapees, and unwanted insect activity. A general guide is to feed at least once a week.
Check on the worms’ activities often to learn their average daily consumption, food preferences, and environmental changes in the bin. As your knowledge grows, managing this mini-recycling facility will become much more manageable.
What Will the Worms Eat?
Start with low-moisture foods until you gain experience. Scraps like grapes and melon have higher water content than coffee grounds and apples. When starting a new bin, add a few spoonfuls of fine grit material, such as cornmeal, coffee grounds, fine sand, or finely crushed eggshells, to provide grit that the worms need for “chewing.”
Feed the worms plant-based materials lower in salt and acidity. Do not feed citrus fruits as these are too acidic. Also avoid feeding items high in salt as red wigglers would only choose small amounts of these in nature. Never add meat, dairy, bones, fish, seafood, onions, garlic, grease, fat, tobacco, or feces of any kind.
Tips for Excess Food Scraps
- Add them to a backyard composting pile or bin. Bury the scraps a foot deep to discourage animals from getting to them.
- Add another worm bin of similar size. Having two bins of the same size is easier to manage.
- Put food scraps in a container in the refrigerator or freezer. Feed these later when the worms eat more or when you don’t have enough fresh scraps.
- Chop food materials into small particles for faster consumption.
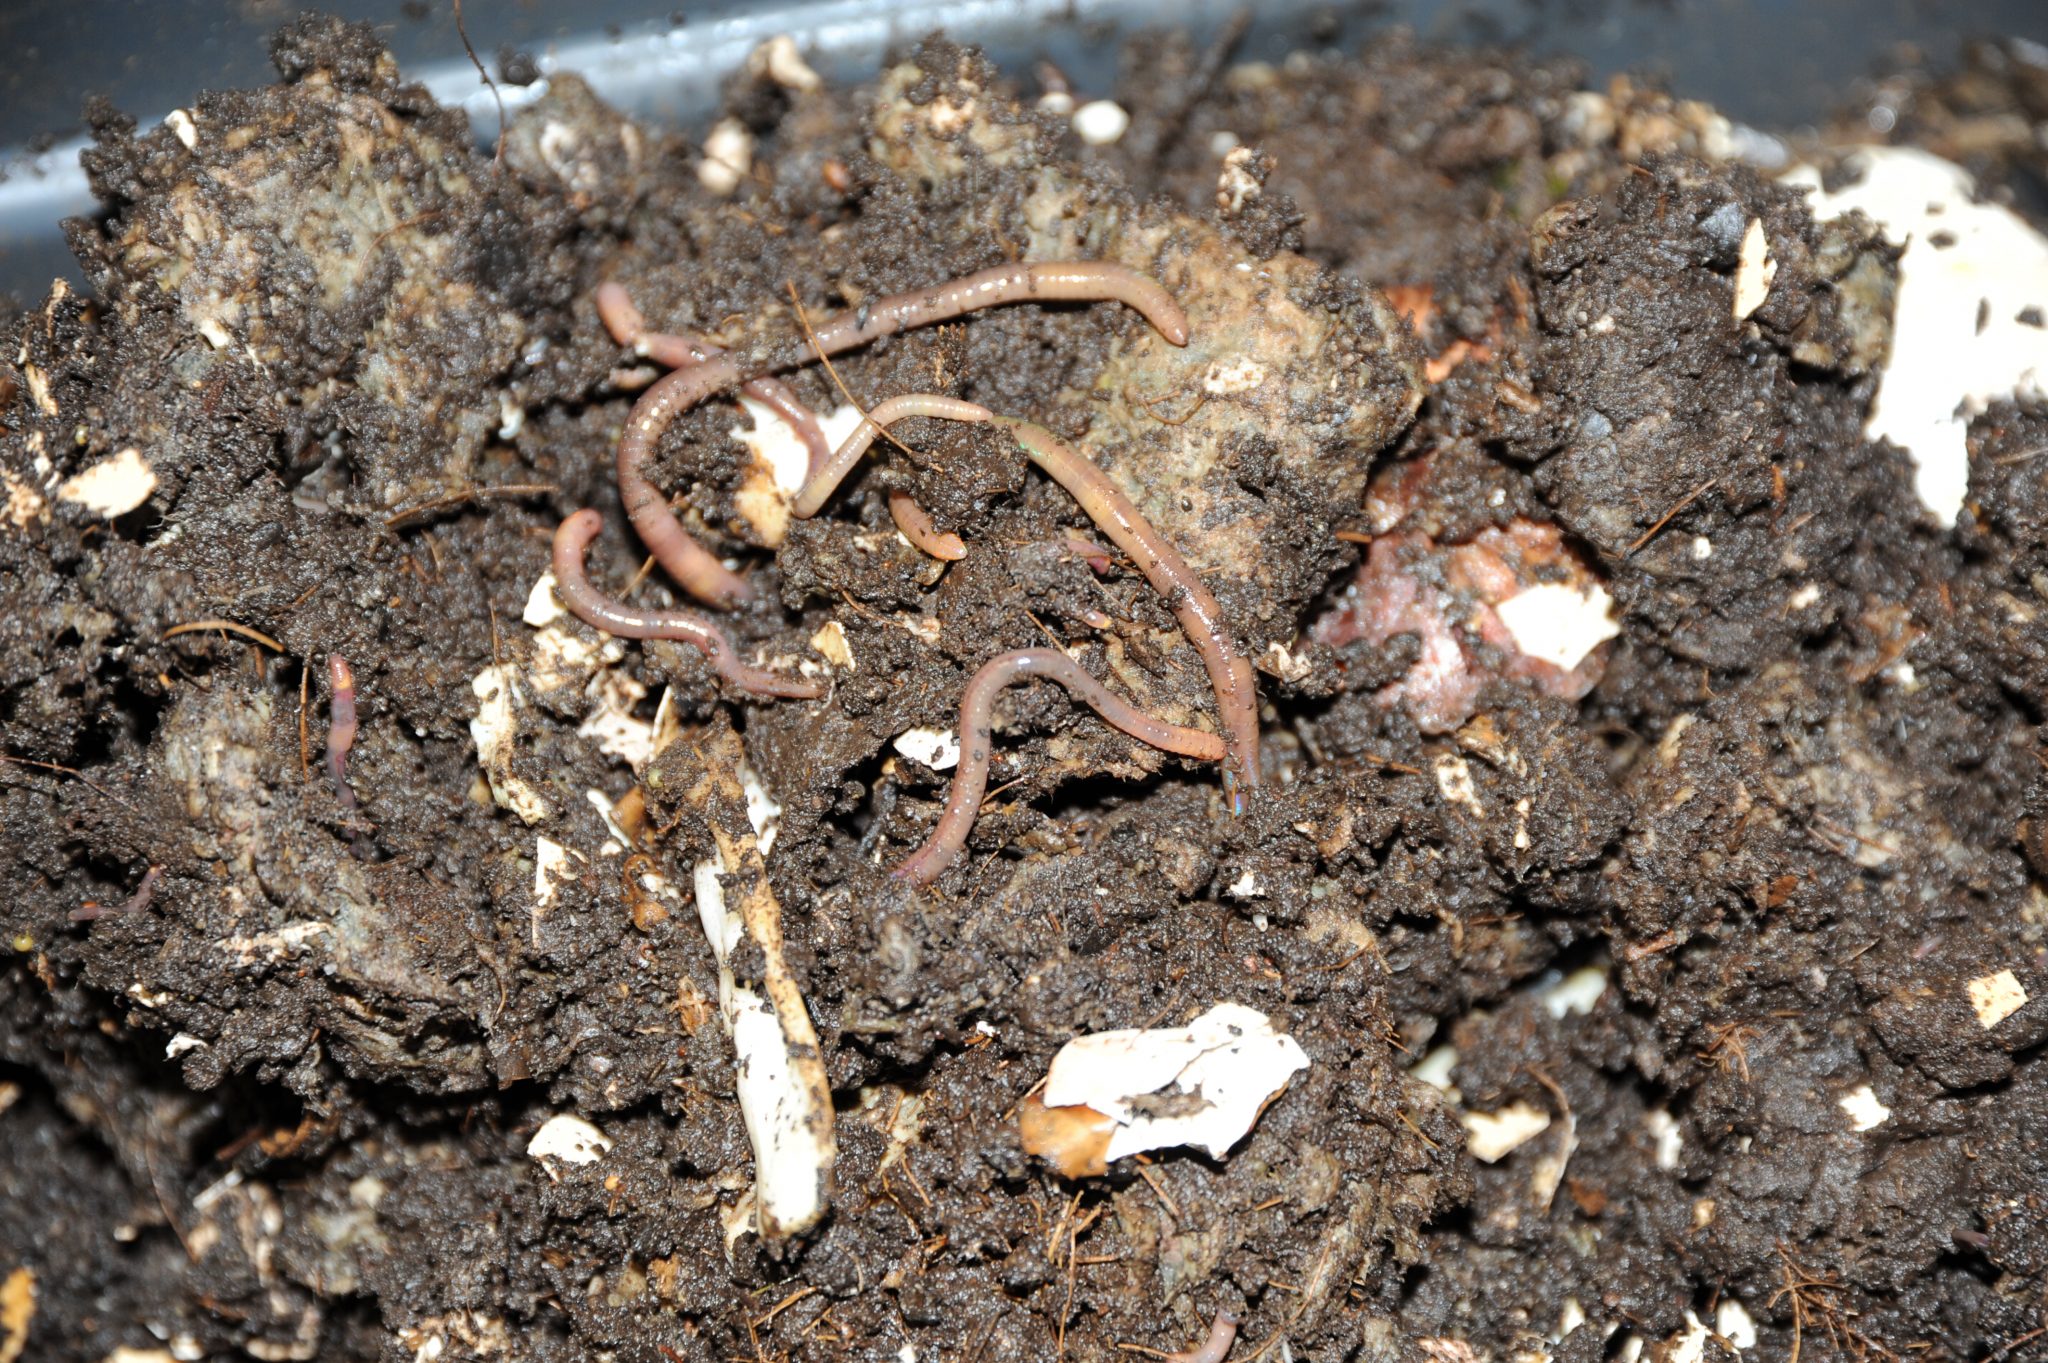
Vermicompost and Worm Harvesting
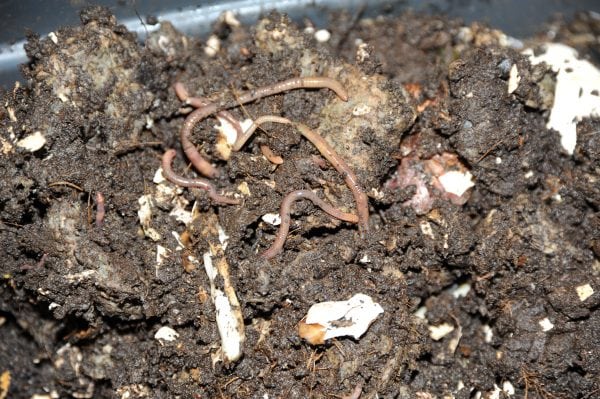
Figure 6. Healthy worms make lots of compost.
A successful vermicomposting process yields valuable compost and castings (organic material) as well as additional worms. Every few months, the compost and castings must be harvested, and the process starts over with fresh bedding. The simplest method of harvesting castings lets the worms do all the work. Start by withholding food a few days so there is minimal food in the worm bin. Make fresh bedding and have it nearby. Gently shift everything (worms too) to one end of the bin and place fresh bedding at the other end. Add a fresh batch of kitchen scraps and cover as usual. The hungry worms will migrate to fresh bedding to find food.
Castings
All animals create waste material as a normal body function. Earthworm manure is called castings. This recycled organic matter is rich in soil nutrients and looks like dark fine-textured clay.
Remove the vermicompost from the other side. Remove some worms too. The worms reproduce as they recycle your kitchen scraps. Each time castings are harvested, return no more than two pounds of worms to a bin. Red wrigglers will self-monitor reproduction in a confined space. When they reach a certain number, they will stop reproducing. This fact reinforces maintaining a healthy environment and proper feeding.
Use the harvested worms as fish bait or to start another worm bin for you or a friend. Use the vermicompost as soil amendment in any garden area or add it to potting mixes for outdoor or indoor plants. Vermicompost improves soil structure, acts as a slow-release organic fertilizer, and suppresses some soilborne diseases. If used around indoor plants, ensure that all scraps are fully decomposed to avoid attracting household pests.
Make a Compost Tea
Add 2 tablespoons of vermicompost to 1 quart water and steep 24 hours, stirring occasionally. Use this “tea” as a fertilizer and soil amendment. Tea should be used within 24 hours after brewing.
 Revised by Kerry Smith, Outreach Programs Administrator, and Andrea Ramey, Graduate Student, both in Horticulture, Auburn University. Originally written by Tony Glover, former County Extension Coordinator, Denise Heubach, former Urban Regional Extension Agent, and Gigi Bullman, Alabama Master Gardener.
Revised April 2023, Vermicomposting: Worms at Work, ANR-1469