Crop Production
Growing healthy starter plants indoors requires particular care. Follow these guidelines for producing thriving transplants for your garden.
Healthy seedlings are critical to the success of any vegetable crop. But growers should consider certain factors when purchasing or growing transplants. Growing seedlings demands good care, including the proper selection of growing containers and soilless media, also known as potting mix; maintenance of adequate irrigation and fertilization; management of air temperature; and hardening off, which is the acclimation of seedlings to field conditions. Purchasing seedlings is a straightforward process in which healthy transplants must be carefully selected. Most vegetable transplants must have a deep green color, no appearance of disease, and be insect free. The best plants are not necessarily the largest or the tallest. For example, avoid tomato plants with flowers or fruits indicating that plants are growing under stressful conditions. All of this adds up to a plant that will perform poorly or not produce much fruit if it survives transplanting. Transplants must generally have a well-developed root system and a healthy appearance (figures 1 and 2).
Growing Media
One of the most essential considerations in growing vegetable transplants for your home garden is the media the transplants are to be grown in and its preparation. Growing mix well suited for transplants can be prepared by using one part loamy garden soil, one part shredded peat moss, and one part sand. You can easily find these in agricultural supply stores. After it is mixed, sterilize the media to prevent seedlings from being killed by the fungi that cause damping-off diseases. To sterilize the soil-peat-sand mix, you can bake it in an oven for about 1 hour at 210 degrees F.
Growing media can also be purchased at a local garden center or from a seed and garden supply catalog. The most widely available and relatively inexpensive seed- starting medium is vermiculite. Seedlings cannot be grown in vermiculite for very long because there are no nutrients in it. Seedlings grown in vermiculite must be regularly given a water-soluble fertilizer or transplanted to sterile soil when the second pair of true leaves form. Vermiculite does not need to be sterilized because it is already sterile when purchased.
Most seedling mixes in local garden centers or agricultural supply stores are typically composed of vermiculite and peat moss. These mixes are optimum for long-term (3 to 10 weeks) transplant production (i.e., tomato, pepper, eggplant, cabbage, broccoli, cauliflower, watermelon, melon, cucumber, summer squash, pumpkins, and others). They generally contain enough nutrients to provide nutrition to seedling development for up to 2 or 3 weeks. After 2 weeks, fertilization is required.
-
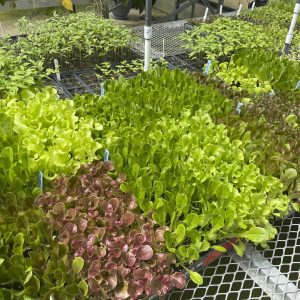
- Figure 1. Vegetable transplants under greenhouse production.
-
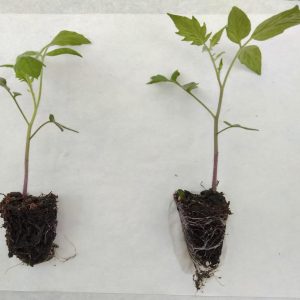
- Figure 2. Tomato transplants with well-developed (right seedling) root systems and poorly developed (left seedling) root systems
-
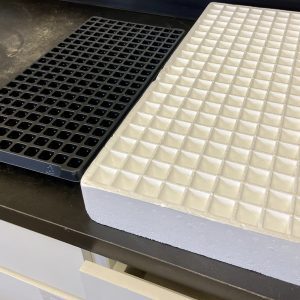
- Figure 3. Plastic and polystyrene trays.
Containers

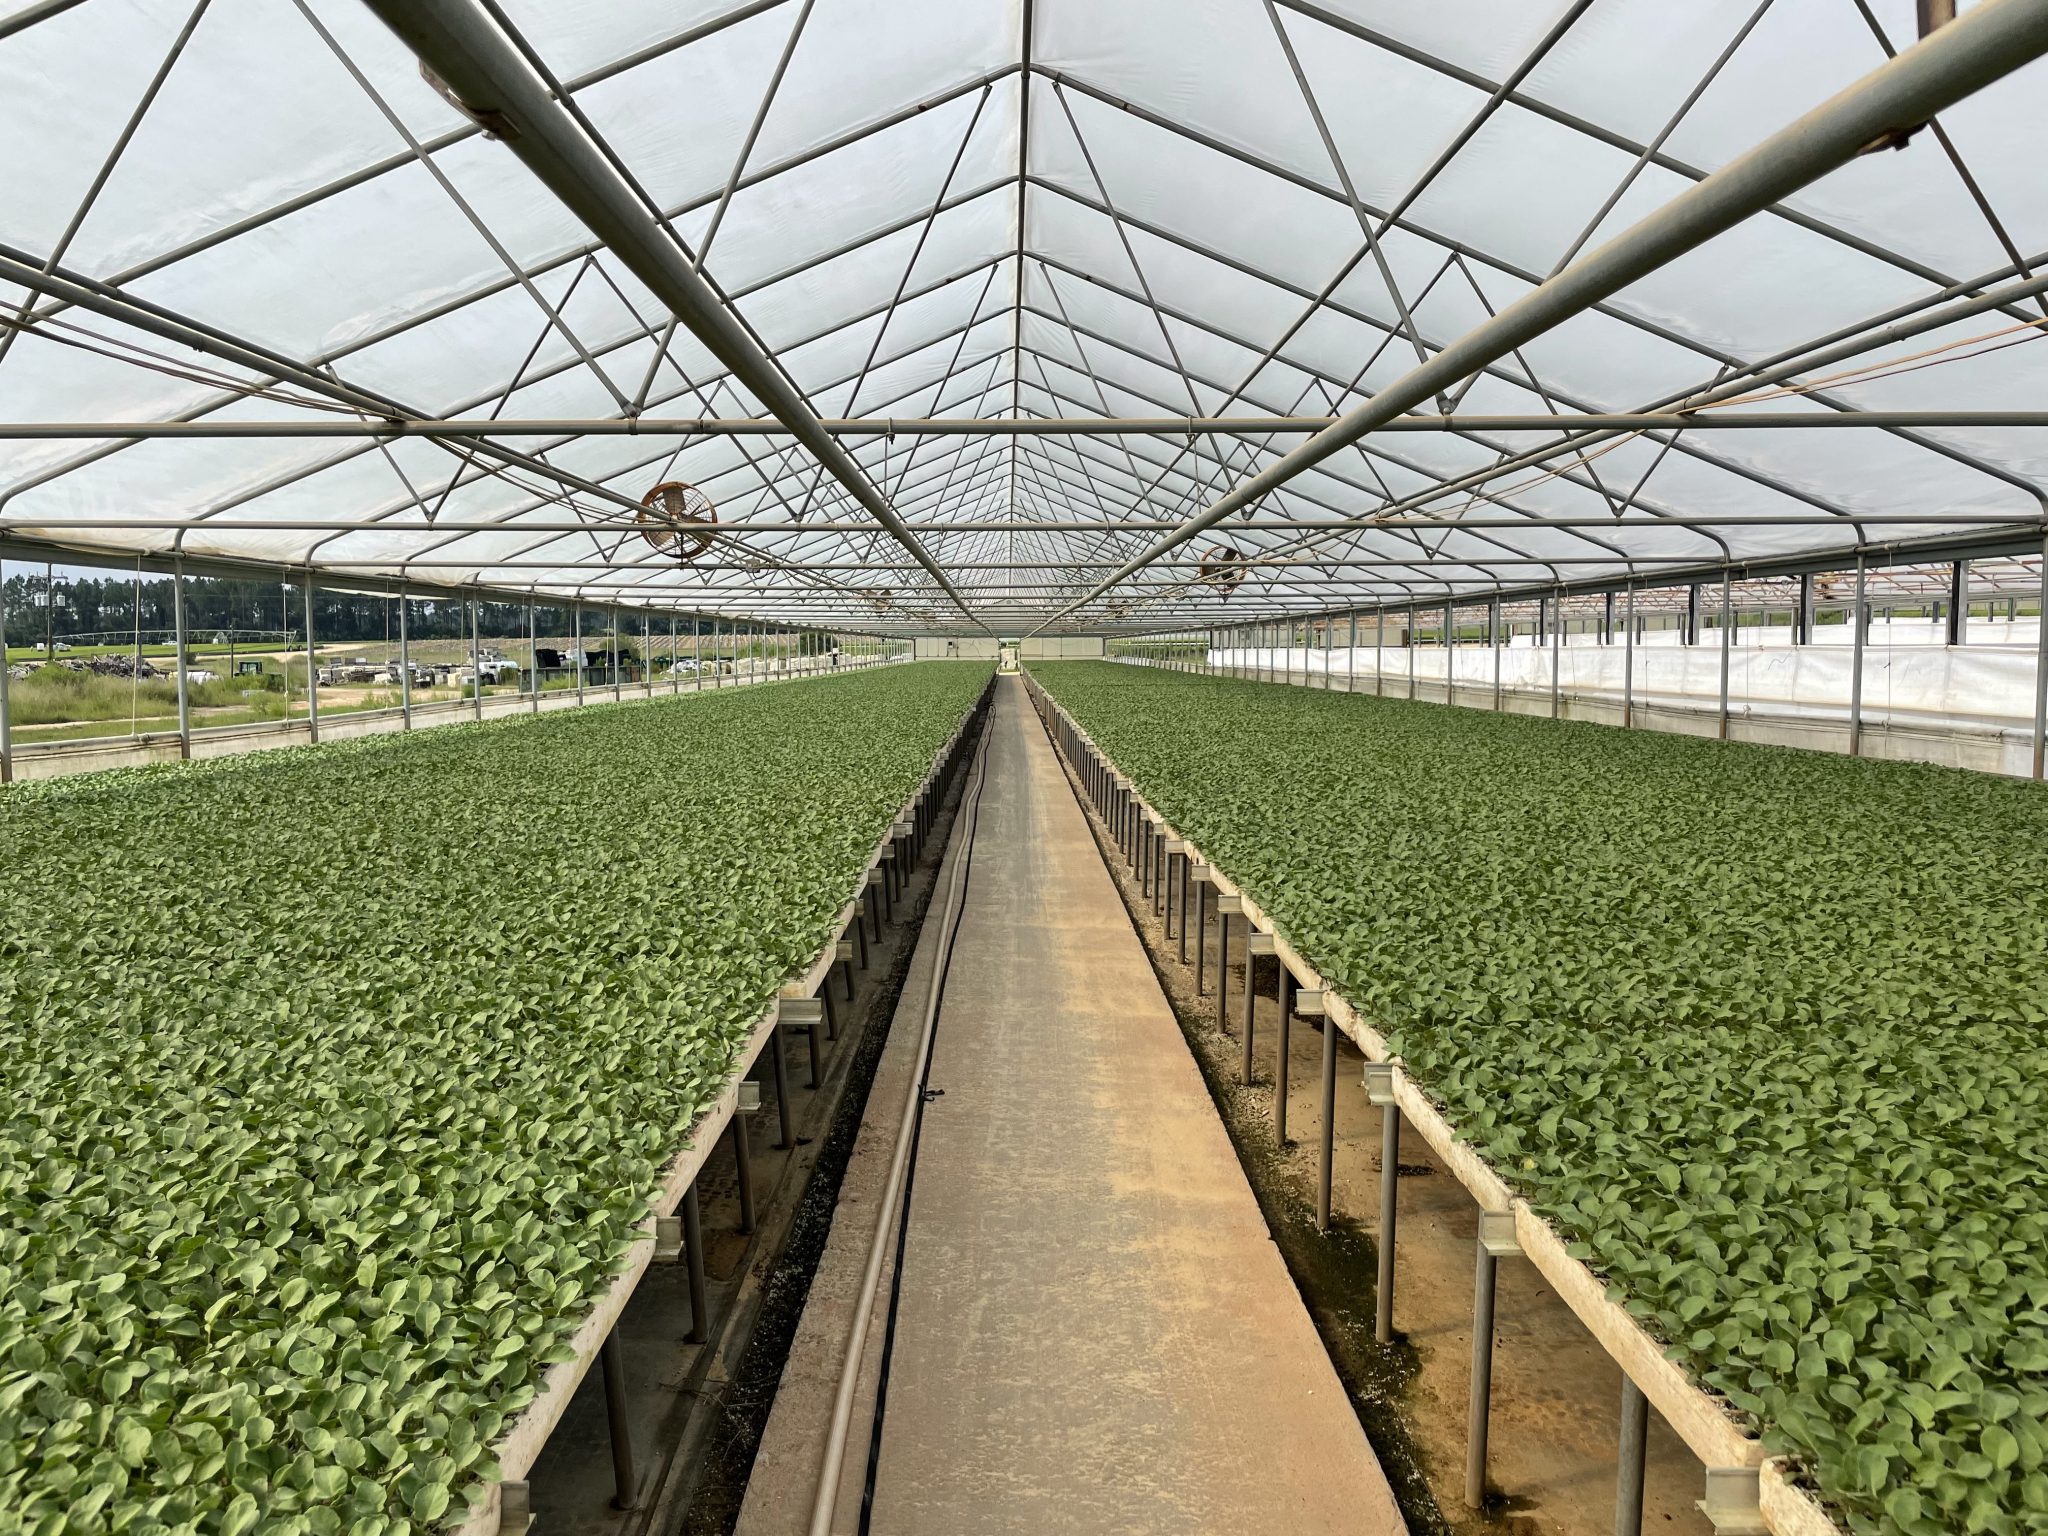
Figure 4. Large-scale seedling production in a commercial greenhouse.
Many containers are suitable for sowing seeds. Wooden flats and trays are recommended if you want to start a large number of seedlings in a limited work area because they take up less space than individual pots (figure 3). Plastic and polystyrene (e.g., Styrofoam) trays are common for medium and large-scale production of seedlings (figure 4). They can be filled with growing media quickly and allow for easy transportation. Finally, you can reuse them after proper cleaning.
Other commonly used transplant containers are pots made of compressed peat, disks of pressed peat that swell to potlike cylinders when soaked in water, and peat cubes. Some of the simplest containers for starting seeds can be found right in your kitchen. Aluminum foil frozen-food trays are among the best. Empty cottage cheese dishes and the bottom halves of milk cartons, ice cream cartons, egg cartons, or paper cups are also handy starter containers. These containers must be clean, sturdy, and fit into the space available for growing plants in the home. All must have drainage holes to allow excess water to run off.
Location
Once the seeds have emerged from the media, they must be given sufficient sunlight to ensure the development of healthy, stocky plants.
Medium to large-scale seedling production is commonly done in greenhouses, which allows for proper sunlight interception and temperature management (figure 4). However, home gardeners may be able to find ideal locations on a sun porch or a window with southern exposure. If bright sunlight is not available, an alternative is to use fluorescent lights. A fixture containing two 40-watt cool-white fluorescent or grow-light tubes spaced 3 to 4 inches apart are sufficient. Place seedlings about 6 to 8 inches from the tubes and leave the light on for 14 to 16 hours each day. Raise the lights as the plants grow to prevent leaf burn.
In addition to providing sufficient light, the growing area must be warm. Generally, the temperature should be between 60 and 65 degrees F at night and 70 and 75 degrees F during the day. Certain vegetable transplants, however, grow better at different temperatures (table 1). When growing a variety of vegetables, provide the minimum ideal temperatures needed by the vegetable requiring the highest temperature.
Table 1. Ideal Growing Temperatures for Plants
| Vegetable | Day (°F) | Night (°F) | Time (Weeks) |
|---|---|---|---|
| Asparagus | 70–80 | 65–70 | 8–10 |
| Broccoli | 60–70 | 50–60 | 5–7 |
| Brussels sprouts | 60–70 | 50–60 | 5–7 |
| Cabbage | 60–70 | 50–60 | 5–7 |
| Cauliflower | 60–70 | 50–60 | 5–7 |
| Sweet corn | 70–75 | 60–65 | 3–4 |
| Cucumber | 70–75 | 60–65 | 3–4 |
| Eggplant | 70–80 | 65–70 | 6–8 |
| Lettuce | 55–65 | 50–55 | 5–7 |
| Muskmelon | 70–75 | 60–65 | 3–4 |
| Onion | 60–65 | 55–60 | 10–12 |
| Pepper | 65–75 | 60–65 | 6–8 |
| Summer squash | 70–75 | 60–65 | 3–4 |
| Tomato | 65–75 | 60–65 | 5–7 |
| Watermelon | 70–80 | 65–70 | 3–4 |
Irrigation and Fertilizer
Water and nutrient availability are essential for the success of growing healthy transplants. Check plants daily to ensure that the media is moist. Irrigate the seedlings if the media feels dry to the touch. Ideally, irrigation water must be applied daily in small volumes to avoid under- and over-watering because it may cause damping-off (seedling death due to fungus), disease, or nutrient leaching.
The first fertilization should be done a few days after the seedlings have emerged. Use a water-soluble fertilizer such as 20-20-20 or 20-10-20 sold in most garden centers. You should make the first application of fertilizer at half the strength of the manufacturer’s recommendation. Depending on the fertilizer used, about 1 to 2 teaspoons per gallon of water applied once every week should be adequate. If the seedlings begin to look yellow and thin, use more fertilizer; if the seedlings are growing too fast and too large, fertilize them less often.
Hardening Off
Before transplanting, seedlings should be hardened off, which is the process whereby plant tissues are toughened to withstand the outside environment. Over a 1 to 2 weeks, set the plants outside in partial shade to receive lower temperatures during the day, and then bring them back in at night. Leave the transplants outside for a more extended period of time each day during the hardening-off period, so they become accustomed to being outdoors. Take appropriate precautions, however, so frost does not kill the transplants. Transplants purchased from garden centers, etc., are usually hardened-off and can be placed directly in the garden.
Conclusion
Whether it is a warm or cold season, selecting a healthy transplant is vital to the success of any vegetable crop. Growers must avoid stressed plants and ensure seedlings are free of insects and disease. These factors together ensure that the crop will achieve the potential yield.
 Andre Luiz Biscaia Ribeiro da Silva, Extension Specialist, Assistant Professor, Commercial Horticulture, Auburn University
New June 2022, Vegetable Seedlings Production, ANR-2899