Alabama 4-H
Learn about science (physics), engineering, measurement, and language arts.
Objectives
Participants will (1) learn why big, heavy, and other descriptive words that refer to weight and size do not determine whether an object sinks or floats, (2) learn the difference between mass, weight, volume, and density, (3) discover that an object’s buoyancy is directly related to its displacement according to Archimedes’ Principle, and (4) discover why a boat or barge can carry a cargo that weighs more than the boat itself.
Vocabulary
Volume refers to the amount of three-dimensional space occupied by matter (the molecules) within an enclosed surface.
Density refers to how tightly the molecules (matter) within an object are packed together.
Mass is the measurement of the amount of matter within an object.
Weight refers to the weight of an object as measured by a scale due to the gravitational force exerted upon it.
Buoyancy refers to the force exerted by a fluid and whether an object will float or sink.
Background
Why do some things, even if they are huge, float while other things that we think are light and small sink? Whether an object sinks or floats does not depend on its weight but rather on the object’s density as it relates to its mass within its three-dimensional space (volume) and the force of buoyancy when it is placed in a fluid.
If an object has a higher density as it relates to its mass than the fluid (for example, water) that it is placed in, it will sink. Conversely, if the object has less mass than water, it will float. To help us understand this, we need to look at Archimedes’ Principle.
Archimedes’ Principle states that an object that is submerged in a fluid like water will experience an upward push or force equal to the mass of the fluid displaced by the object. This upward force is called buoyance. This principle is fundamental for understanding why a large ship that is made from metal floats.
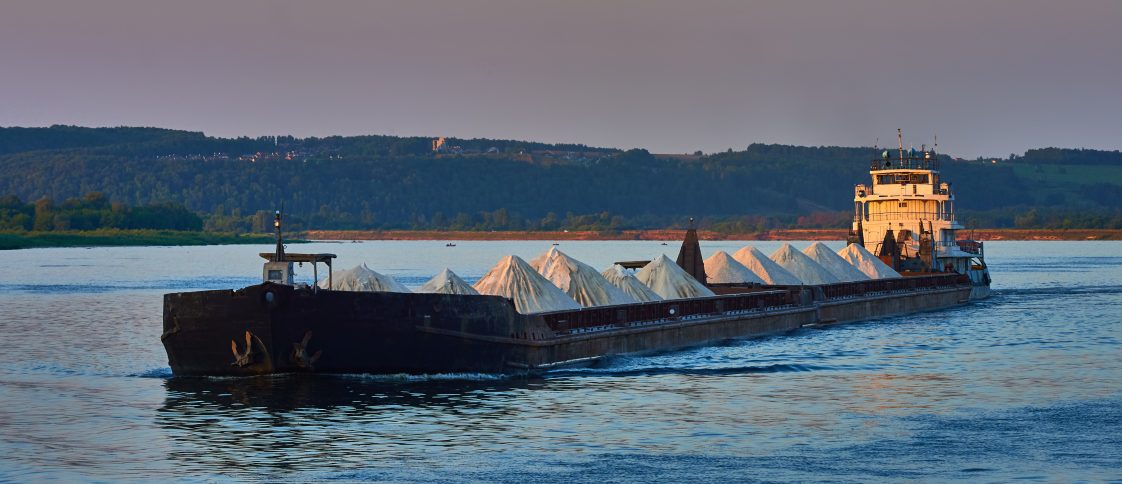
When a ship or other object is placed in water, it displaces a certain volume of water that directly corresponds to the volume of the ship. The mass of the displaced water creates an upward force (buoyancy) that pushes the ship’s mass up while gravity pulls down on the ship. If the buoyant or upward push is greater than the mass of the ship, it floats. If the ship’s mass is greater than the displaced fluid, then it will sink.
To better understand buoyance, consider that when a solid object is immersed in a fluid like water, it experiences pressure in all directions, known as fluid pressure (Pascal’s Principle). The fluid can be air or water.
If the fluid is water, then it is known as hydrostatic pressure. The pressure exerted on this object by the fluid increases in relation to the depth of the fluid. Therefore, the pressure on the top of the object is less than that at the bottom. This pressure difference causes an upward force known as the buoyant force. It is a contact force and responds in the opposite direction to the weight of the object.
Types of Buoyancy
Three different buoyancy results are possible:
1. Positive Buoyancy. When the mass of the fluid displaced (pushed out of the way) by the object is more than the object’s mass, then the phenomenon is known as positive buoyancy. In this case, the object will float on the surface of the fluid.
2. Neutral Buoyancy. When the mass of the fluid displaced is equal to the object’s mass, it is called neutral buoyance. In this case, the object neither sinks nor rises. It will be suspended in the fluid.
3. Negative Buoyancy. When the mass of the fluid displaced is less than the object’s mass, it is called negative buoyance. The object sinks.
Another way to think about this is as follows: if you have a solid one-pound block of iron and place it in water, it will quickly sink to the bottom because the water it displaces is less dense than the iron. If we take this same pound of iron and reshape it into a bowl, it will float because by volume, it is less dense than the water it displaces. It still weighs one pound, but now its volume, or the space it takes up, is greater because some of the area is now filled with air so it is less dense and it floats. Some materials such as many woods and plastics will float naturally because they are less dense than an equal volume of water.
Activity 1: Why Do Some Things Float and Other Things Sink?
 DESCRIPTION: Youth will investigate several objects to determine if they will sink or float.
4-H AGE GROUP: Cloverbuds (ages 5–8), Junior (ages 8–10), and Intermediate (ages 11–13)
GROUPS SIZE: Groups of 2 to 4 youth are preferred but this activity can be done as a class demonstration.
TIME: 30 to 45 minutes
KEY QUESTION: Which of the objects will float in a tub of water and which will sink?
MATERIALS: An assortment of common objects that include things that will float and others that will sink. Objects you might use are plastic and metal paper clips, toothpick, golf ball, ping pong ball, plastic bead, sponge piece, piece of aluminum foil, grape, paper, piece of Styrofoam, plastic spoon or fork, metal spoon or fork, penny, wooden pencil, apple, plastic counting bear, marble, crayon, clothes pin, key, orange, plastic bottle cap, and other common objects. A tub of water per group that is deep enough so objects can sink or float, and paper towels for drying objects.
PROCEDURE: PART 1
1. Give each group (could also be done as a large group demonstration) a container of water, an assortment of objects, and paper towels.
2. Have each group make a list of the objects and then record a hypothesis (prediction) regarding which Activity 1: Why Do Some Things Float and Other Things Sink?objects they think will sink and which will float. Have the youth give a short reason why they think the object will sink or float.
3. Once everyone has recorded their hypothesis, let them test it by placing each object, one by one, into the container and record the results.
4. Now that the objects have been tested, each group should divide the objects into a float group and a sink group.
5. Each group needs to discuss and write an explanation of why they think each group either floated or sank. (For example, they may say that “heavy” items will sink while “light” objects will float.)
6. Have the groups share their descriptions. (The terms heavy and light will probably be mentioned.) Discuss.
PROCEDURE: PART 2
1. Hold up a marble and an apple. Ask, “Which item floated, and which item sank during your test?” Ask, “Which item is bigger/larger? Which item is littler/smaller? Does size affect whether an object sinks or floats?” Based on our earlier experiment, place both objects in a container of water again. We have decided that size doesn’t determine whether something will sink or float. Ask, “What will determine if something sinks or floats?” Take the objects out of the container, dry them off, and place them on a scale. Ask, “What does placing the objects on a scale show us?” During the discussion, the terms lighter, heavier, and weight should be mentioned.
2. Discuss the terms weight, lighter, and heavier.
3. Ask, “Is there a way that we could change some of the things that sank so that they float or things that floated, sink?” If nobody has an idea, ask, “What would happen if you changed the shape of the aluminum foil? What happens if you peel the orange?” Have them give it a try and experiment with some of the other objects. (They probably won’t be able to change all of the objects.)
4. After experimenting with the other objects, have the youth share what they discovered about the objects they experimented with that changed from sinkers to floaters or floaters to sinkers.
5. Introduce and discuss the terms density and volume.
Activity 2: Soda vs. Diet Soda
 DESCRIPTION: Youth compare the buoyance of an unopened can of soda and an unopened can of diet soda as they learn about mass, volume and buoyance.
4-H AGE GROUP: Junior (ages 8–10), Intermediate (ages 11–13), and Senior (ages 14–18)
GROUPS SIZE: Large group as a demonstration or divide youth into groups of 2 to 4
TIME: 15 to 30 minutes
KEY QUESTION: When placed in a tub of water, will a can of soda and a can of diet soda float or sink?
MATERIALS: One regular soda and one diet soda per group, a container that holds water for each group that is 2 ½ times deeper than the cans are tall, enough water to fill the container, and towels for cleanup.
PROCEDURE:
1. Have the students in each group examine a can of regular soda and a can of diet soda and make a list of comparisons. Do not let them open the cans.
2. Once they have examined the cans, ask them to form a hypothesis that answers the following questions: “Will both cans sink, float, or which will sink and which will float when placed in a tub of water?” Once they have had a chance to think about it, take a class poll on what they think and record the results.
3. Have each group take a turn carefully placing their two cans in the container of water (avoid a splash) and observe what happens. (Did they both float, sink, or which one floated while the other sank?) Have each group remove their cans from the water and dry them off.
4. Ask, “What happened? Why?” Give the groups time to reexamine their cans, discuss the results, and develop their own explanations. Encourage them to look at labels, volume, and sizes of the cans at this time, if they have not already done so (volume and size should be the same for both cans).
5. Make a scale available so they can either weigh them both or compare them on a balance scale.
6. Can anyone identify what the difference is between the two cans.
Explanation: The regular soda sank and the diet soda floated. Even though each can is the same size and same volume, the regular soda is denser and, therefore, has more mass (shown by weight on scale). Corn syrup, which is the sweetener in the regular soda makes the liquid denser than water. Diet soda is sweetened with an artificial sweetener like aspartame, which is less dense than water.
EXTENSION: Conduct this experiment with a different brand of regular and diet soft drinks.
Activity 3: Barge Building
 DESCRIPTION: Youth will construct a barge from a sheet of aluminum foil, float it, and add weight, such as pennies, until the barge sinks.
4-H AGE GROUP: Junior (ages 8–10), Intermediate (ages 11–13), and Senior (ages 14–18)
GROUP SIZE: 2 youth per group
TIME: 30 to 45 minutes
KEY QUESTION: What is the best design to use when building a barge from aluminum foil so it will hold the most weight possible?
MATERIALS: 15 x 15 centimeter squares of aluminum foil, at least one tub that holds water and is large enough to accommodate one barge at a time, approximately 100 pennies or other small objects such as paper clips, plastic counting bears, or other small objects that sink when placed in water.
PROCEDURE:
1. Show the youth a 15 x 15 centimeter piece of aluminum foil. Ask, “I want you to make a prediction for the following questions: What will happen if we place this piece of foil in a tub of water?” (If it is placed parallel to the water, it will float if water does not flow over the edge, but if it is placed perpendicular to the water, it will sink.) “Why did the foil sink or float?”
2. Now, show them a penny (or another object). Ask, “What will happen if we place the penny in a tub of water?” (It will sink.) “Why did the penny sink?”
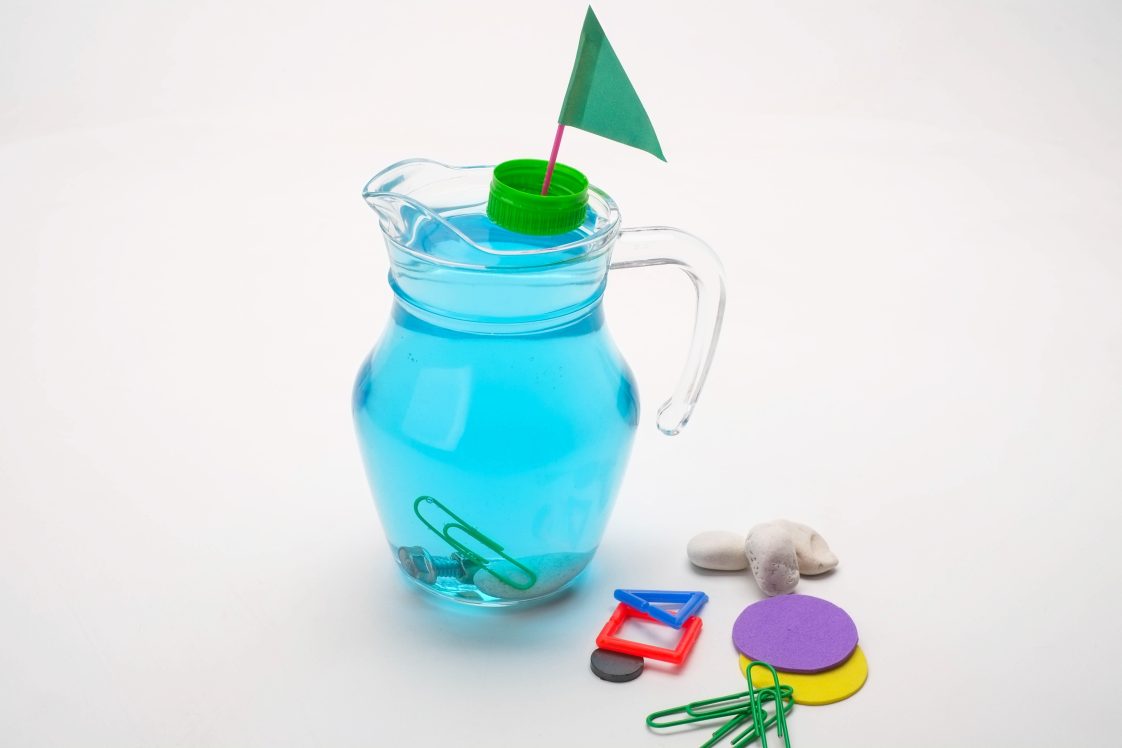
3. Ask, “How can I use the foil to help make the penny or another object float?” (The discussion should lead to folding the edges to create a barge-like or ship-like object.)
4. Divide the youth into teams of two and have them give their team a name. Give them a copy of the “Barge Building Youth Worksheet” found at the end of this activity.
5. Give each pair a 15 x 15 centimeter piece of foil and have them work together to fold the foil to create a barge-like object. (Allow them to work on it for 10 minutes.)
6. After 10 minutes, each team should stop working on their barge. Starting with the first team, have them place their barge in a tub of water and carefully load it with pennies, one at a time until it sinks. When it sinks, subtract the last penny from the number of pennies loaded on the barge. This is their final score. (For example, if the barge held 10 pennies and then sank on the 11th, then it scored 10.)
7. Create a class bar graph (maybe on the chalk or dry erase board) and have the youth enter their findings as shown in the following diagram.
8. Have a class discussion regarding the barges and why some worked (held more pennies) than others.
9. Give each group a new piece of foil and challenge them to create a new barge using what they have learned to see if they can make a better barge.
10. After 10 minutes, each team should stop working on their barge. Starting with the first team, have them place their barge in a tub of water and carefully load it with pennies, one at a time until it sinks. When it sinks, subtract the last penny from the number of pennies loaded on the barge. This is their final score. (For example, if the barge held 10 pennies and then sank on the 11th, then it scored 10.)
11. Graph the new results.
12. Discuss as a group what they learned during this activity.
Barge Building Youth Worksheet
View the barge building youth worksheet in the corresponding PDF download below.

 Doyle Keasal, Extension Associate, Alabama 4-H, Auburn University
New February 2025, Understanding Buoyancy & Barge Building, 4HYD-2567