Food Safety
Whether you grow your own garden or purchase fresh produce locally, preserving fruits and vegetables allows you to enjoy the flavors of the harvest long after the growing season ends. For those who do not have a home garden, local farmers’ markets and roadside stands provide excellent opportunities to purchase fresh, in-season produce. Throughout the summer, growers often offer a wide variety of fruits and vegetables—such as squash, okra, greens, tomatoes, and sweet watermelons. Depending on the specific produce, many of these foods can be preserved using methods such as canning, freezing, or other approved preservation techniques. If you are planning to preserve produce this summer, it is helpful to start preparing your kitchen and equipment now. Taking the time to review recipes, inspect supplies, and organize your workspace can help ensure a smooth and safe food preservation season.
Use Research-Tested Recipes
One of the most important steps in home canning is using research-tested recipes. Food preservation recommendations are updated as new research becomes available, and some older methods are no longer considered safe. Following the most-current guidelines helps ensure that foods are processed properly and remain safe to eat.
Reliable resources—such as your county Extension office and the National Center for Home Food Preservation—provide research-based recipes and updated canning recommendations. Extension publications and briefs can also help home preservers stay informed about the most current food safety practices. Find those resources at aces.edu/blog/category/food-safety.
Inspect Your Equipment
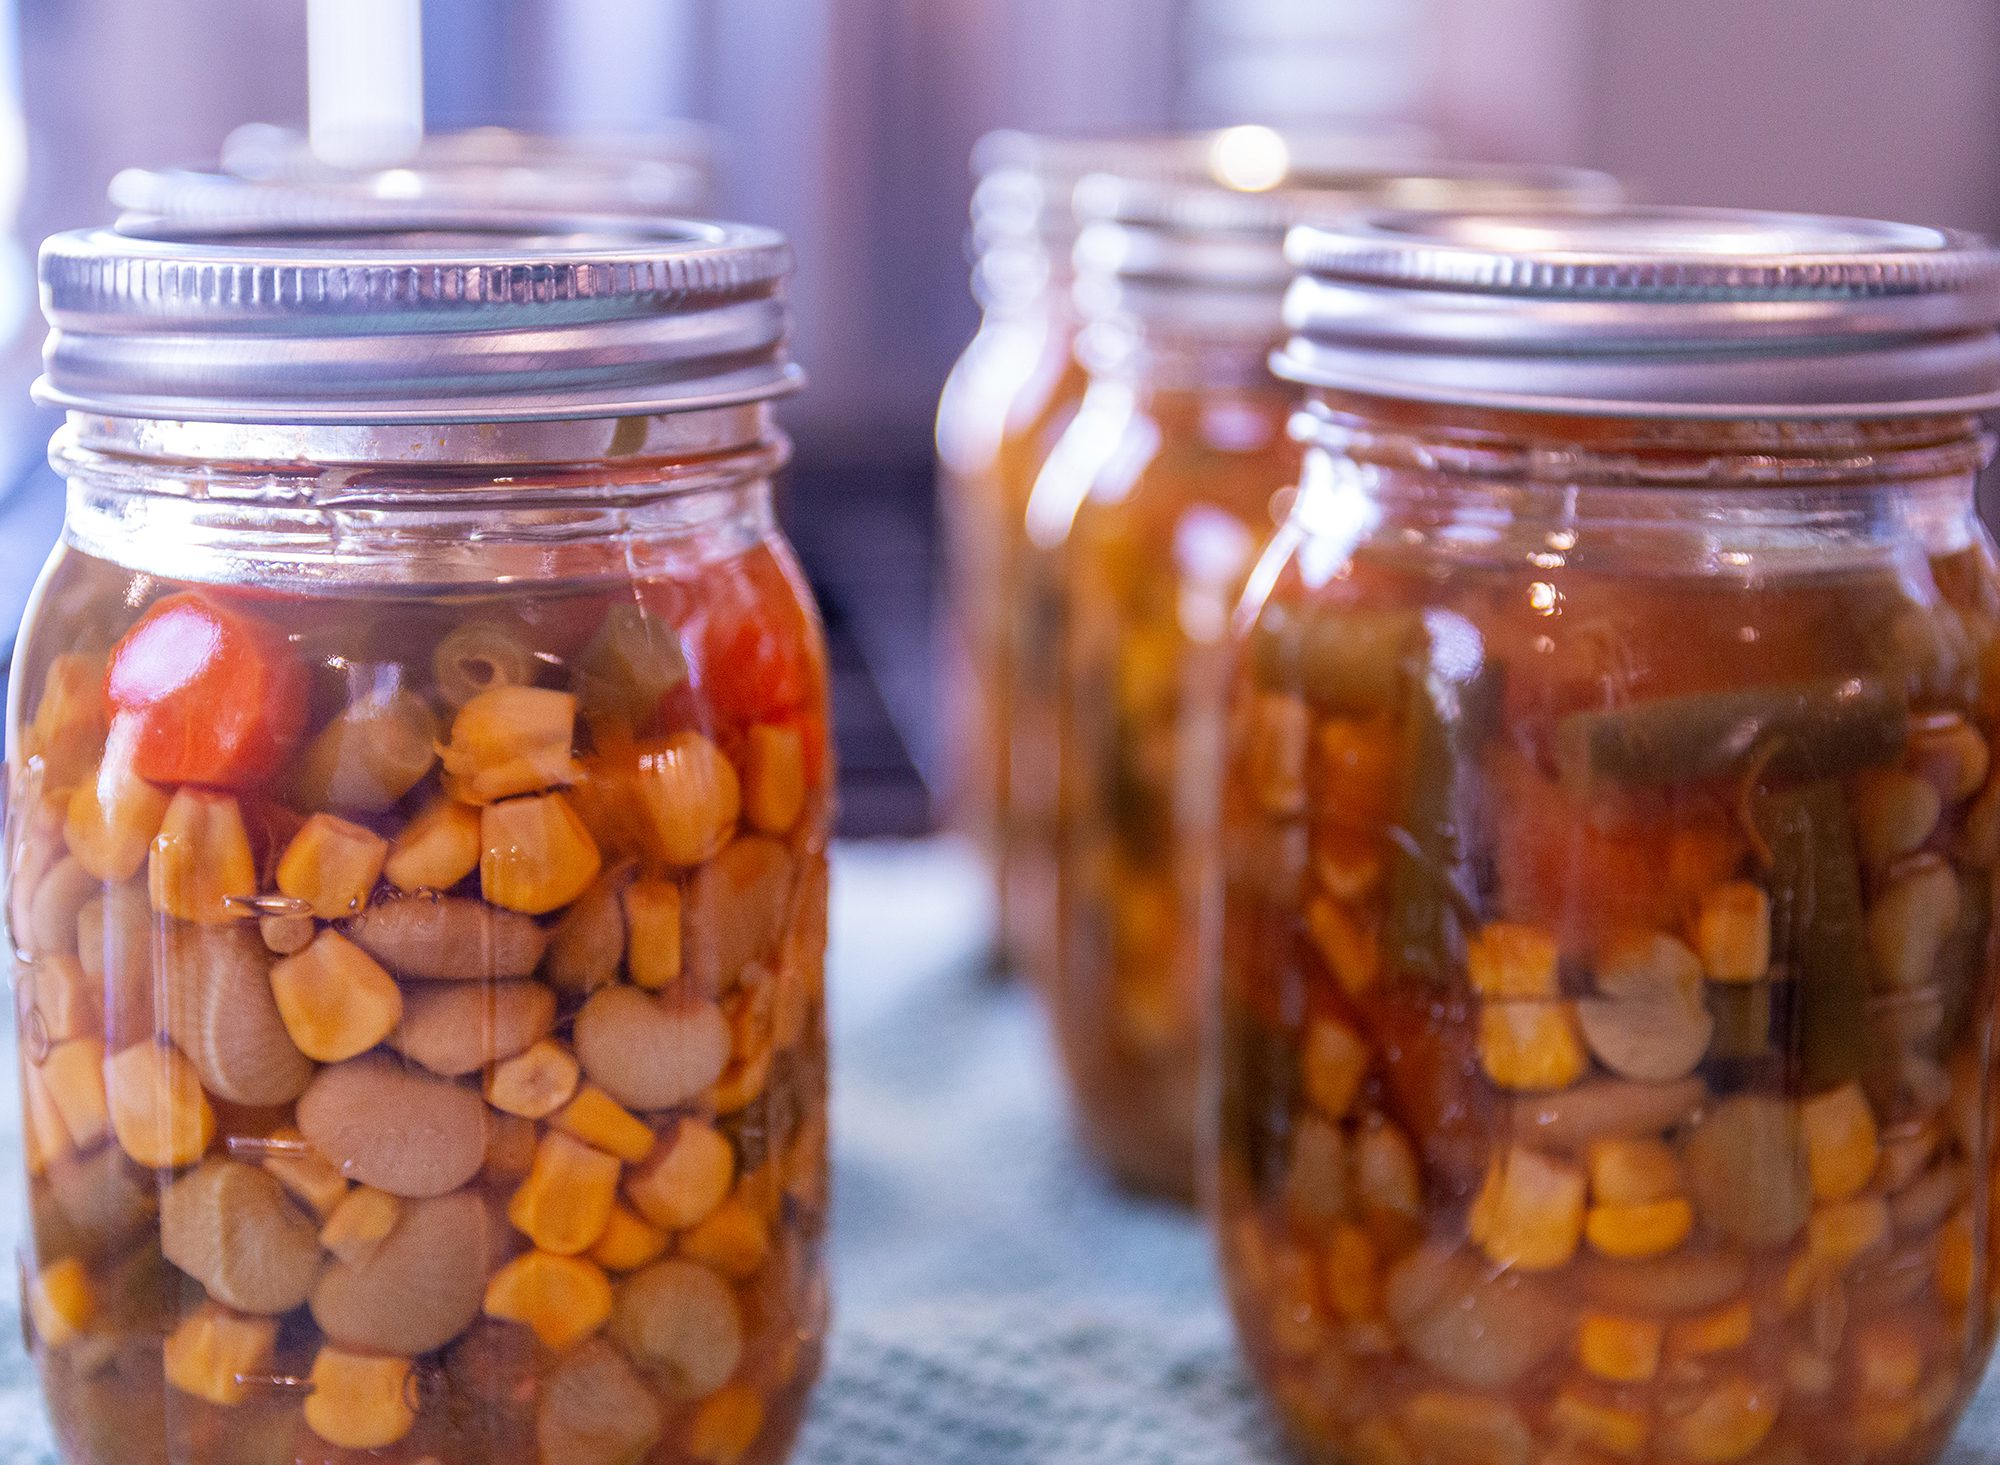
Before the harvest begins, review the equipment that you will need for canning. Two types of canners are commonly used in home food preservation. A water bath canner is used for high-acid foods such as most fruits, jams, jellies, tomatoes, and pickled products. A pressure canner is necessary for processing low-acid foods such as vegetables, meats, and fish.
In addition to canners, have other essential tools on hand—including a sharp knife, measuring cups, jars, rings, new lids, a funnel, and a jar lifter. Inspect the jars carefully for cracks, chips, or nicks along the rim, as these can prevent jars from sealing properly. Rings can be reused if they are not rusted or bent, but flat lids should always be replaced each season.
If you own a pressure canner with a dial gauge, it is recommended that the gauge be tested annually for accuracy. Your county Extension office offers this service prior to the start of canning season.
Follow Proper Canning Procedures
For the best-quality product, begin the canning process as soon as possible after fruits and vegetables are harvested or purchased. Choose produce that is fresh and free from insect damage, bruising, or wilting.
Prepare the jars according to recommended guidelines, and follow recipe directions carefully for filling and processing. Once the jars are sealed and placed in either a water bath canner or pressure canner, they must be processed for the proper amount of time.
After processing, remove jars and place them on a clean, dry towel or cloth. Allow the jars to cool undisturbed for 12 to 24 hours. Once cooled, check each lid to ensure a proper seal. The center of the lid should be slightly concave and should not flex when pressed.
Store Canned Foods Properly
Proper storage is the final step in preserving food safely. Store sealed jars in a cool, dry, and dark location. Most home-canned foods maintain their best quality for up to 1 year.
More Information
By taking time now to prepare equipment, review safe recipes, and plan for proper storage, home food preservers can enter the season ready to safely capture the fresh flavors of summer and enjoy them throughout the year. For additional food preservation information, contact your local Extension office or visit the National Center for Home Food Preservation at nchfp.uga.edu.