Aquaculture
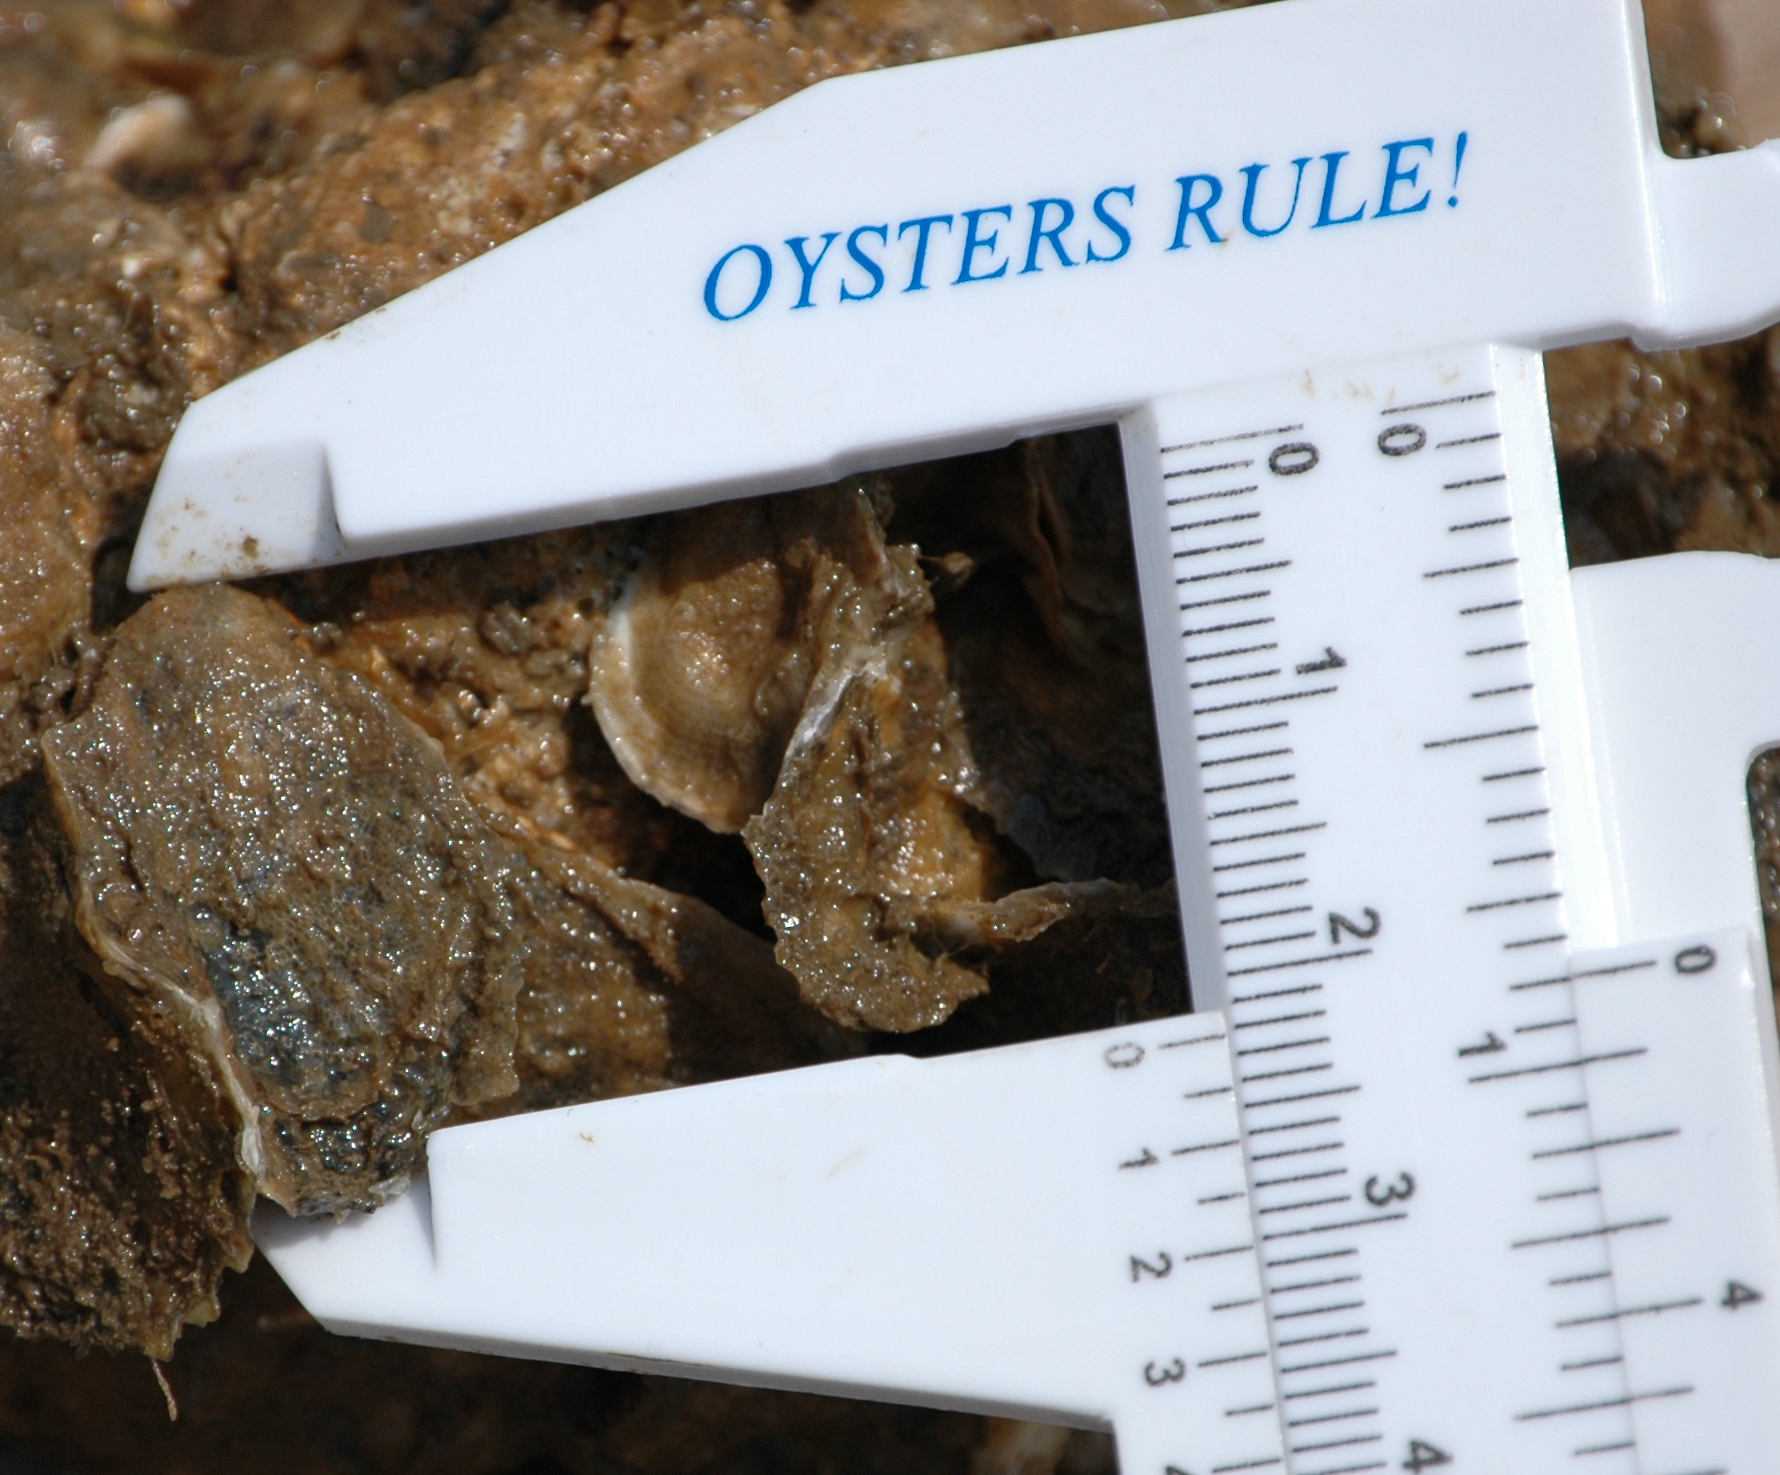
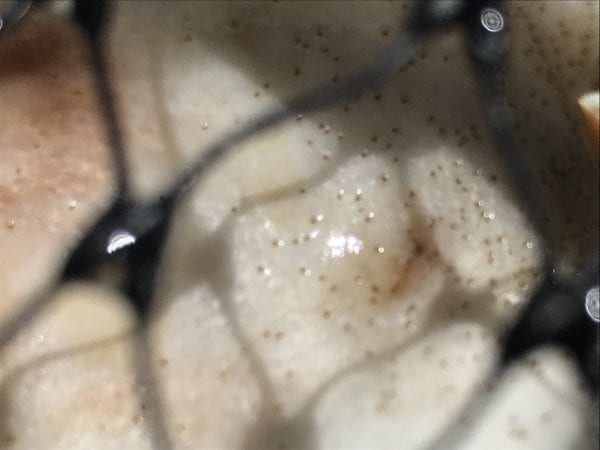
Figure 1. Recently set baby oysters (oyster spat) like these, will grow in your gardens to an average size of 2.5 inches.
Welcome to a new oyster gardening season. New volunteers, we are happy to have you join us; seasoned volunteers, it is great to have you back. This fact sheet will tell you everything you need to know to get started with your oyster garden.
You have completed the first step, which is sign up and receive your oyster spat (baby oysters). Each gardening site typically hosts 100 large oyster shells on which the spat are attached (figure 1). If you look closely, you can see numerous small oysters attached to each shell. Each is about half the size of your thumbnail with very thin, flat shells.
Your oysters have been out of the water for a while now through delivery and pickup, but they have remained covered and moist. You should divide the shells up evenly among two of your four gardens and lower them into the water. Most gardeners have four gardens but can rotate them early in the season to make cleaning simple. After about a week, remove all the spat set shells from their gardens, and place them in a clean garden before returning them to the water.
When lowering your gardens into the water, make sure the cages are not resting on the bottom or bumping into pilings (figure 2). This will help protect them from predators. Leave the two, now empty, gardens to dry in the sun for a few days which will help clean them of any algae and small barnacles which may have attached during the last week. Continue this process until the oysters grow large enough to require the addition of a third and fourth garden. Generally, by the time the third garden is needed, the oysters are large enough for more aggressive cleaning. Watch the monthly newsletter for details.
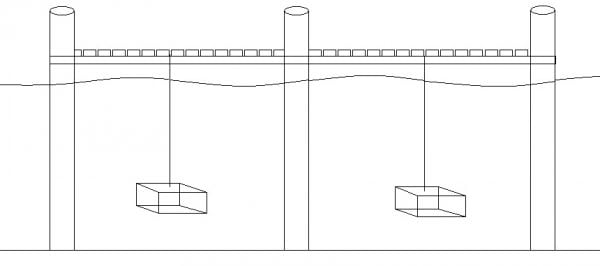
Figure 2. Page cages suspended between pilings and off the bottom.
If you seen any blue crabs, stone crabs or oyster drills in the garden, be sure to remove them promptly. The more consistent you are with the maintenance of your oyster gardens, the easier it will be to care for them and the better your oysters will grow. You will see small mud crabs, shrimp, and maybe a few fish in your cages after a short period of time. These are examples of the more than 300 species that are supported by natural oyster reefs and will not harm your oysters.
If you have questions, contact us at (251) 438-5690 or oystergardening@auburn.edu.

P.J. Waters Jr., Extension Specialist, Aquaculture and Recreational Pond Management
Revised October 2019, Oyster Restoration: How to Grow Your Oyster Garden, ANR-1360