Food Safety
Drying is the oldest method of preserving vegetables. It is easy and can be the least expensive method too. Most can be stored for 6 months to a year. If you would like to try drying vegetables, here’s how.
Selecting and Preparing Vegetables
Select mature yet tender vegetables that have their characteristic color, flavor, and texture. Wilted or inferior vegetables will not make a satisfactory dried product. Overmature vegetables will be tough and fibrous or soft and mushy.
Picking activates enzymes that cause color, flavor, texture, sugar content, and nutrient changes in vegetables. For best results, go from garden to drying tray in 2 hours. After gathering, begin immediately preparing the vegetables for drying. Wash them thoroughly to remove dirt and insecticides. Sort and discard any that have decay, bruises, or bad spots.
Pretreating
Enzymes in vegetables are responsible for color, flavor, and odor changes while maturing. These changes will continue in most vegetables during drying and storage unless they are pretreated by blanching. Blanching saves some of the vitamin content, sets the color, hastens drying by relaxing the tissues, helps prevent undesirable changes in flavor during storage, and helps ensure satisfactory water absorption during cooking.
Blanching can be done by steaming or immersing the vegetables in boiling water. Steaming causes them to retain more of the water-soluble nutrients, but it takes longer than immersing.
Blanching
Water blanching is recommended over steam blanching or blanching in a microwave because water blanching achieves a more even heat penetration than the other two methods. Use plain water or water with added citric acid. Citric acid acts as an antidarkening and antimicrobial agent.
Prepare the citric acid water by stirring 1⁄4 teaspoon (1 gram) of citric acid into 1 quart (approximately 1 liter) of water. Work with small amounts so the plain or citric acid water doesn’t stop boiling. Watch closely and precook as follows:
- Fill large kettle half full with plain or citric acid water and bring to a boil.
- Put no more than 1 quart of the vegetable pieces in a cheesecloth or other mesh bag. A 36 inch
cloth square gathered at the corners works well. Secure ends. - Drop the vegetable bag in boiling water, making sure that the water covers the vegetables. Shake the bag so the hot water reaches all pieces.
- Start timing as soon as the vegetables are in boiling water. Adjust heat to ensure continuous boiling.
- Heat for the length of time shown in table 1.
- Drop the bag in very cold water to cool (same time as blanched).
- Drain on paper towel or cloth.
Table 1. Pretreating by Blanching
| Vegetable | Preparation | Steam (minutes) | Water (minutes) |
|---|---|---|---|
| Beans, green | Cut in short pieces or cut lengthwise. | 2 to 2 1/2 | 2 |
| Beans, lima | Shell. | 4 | 4 |
| Cabbage | Cut in strips 1⁄8 inch thick . | 2 1/2 to 3 | 1 1/2 to 2 |
| Carrots | Cut in 1/8 inch slices or strips. | 2 to 2 1/2 | 3 1/2 |
| Corn, whole grain | Cut after steaming or water blanching. | Until milk is set | Until milk is set |
| Eggplant | Peel; slice 1⁄2 inch thick. | 3 1/2 | 3 |
| Okra | Slice 1⁄4 inch thick | Does not need pretreating. | Does not need pretreating. |
| Onions | Slice 1⁄4 inch thick. | Do not need pretreating. | Do not need pretreating. |
| Parsley | Separate clusters. | Does not need pretreating. | Does not need pretreating. |
| Peas | Shell. | 3 | 2 |
| Sweet peppers, pimentos | Cut in slices 1⁄4 inch thick or chop in pieces the size of lima beans. | Do not need pretreating. | Do not need pretreating. |
| Squash, summer | Slice 1⁄4 inch thick. | 2 1/2 to 3 | 1 1/2 |
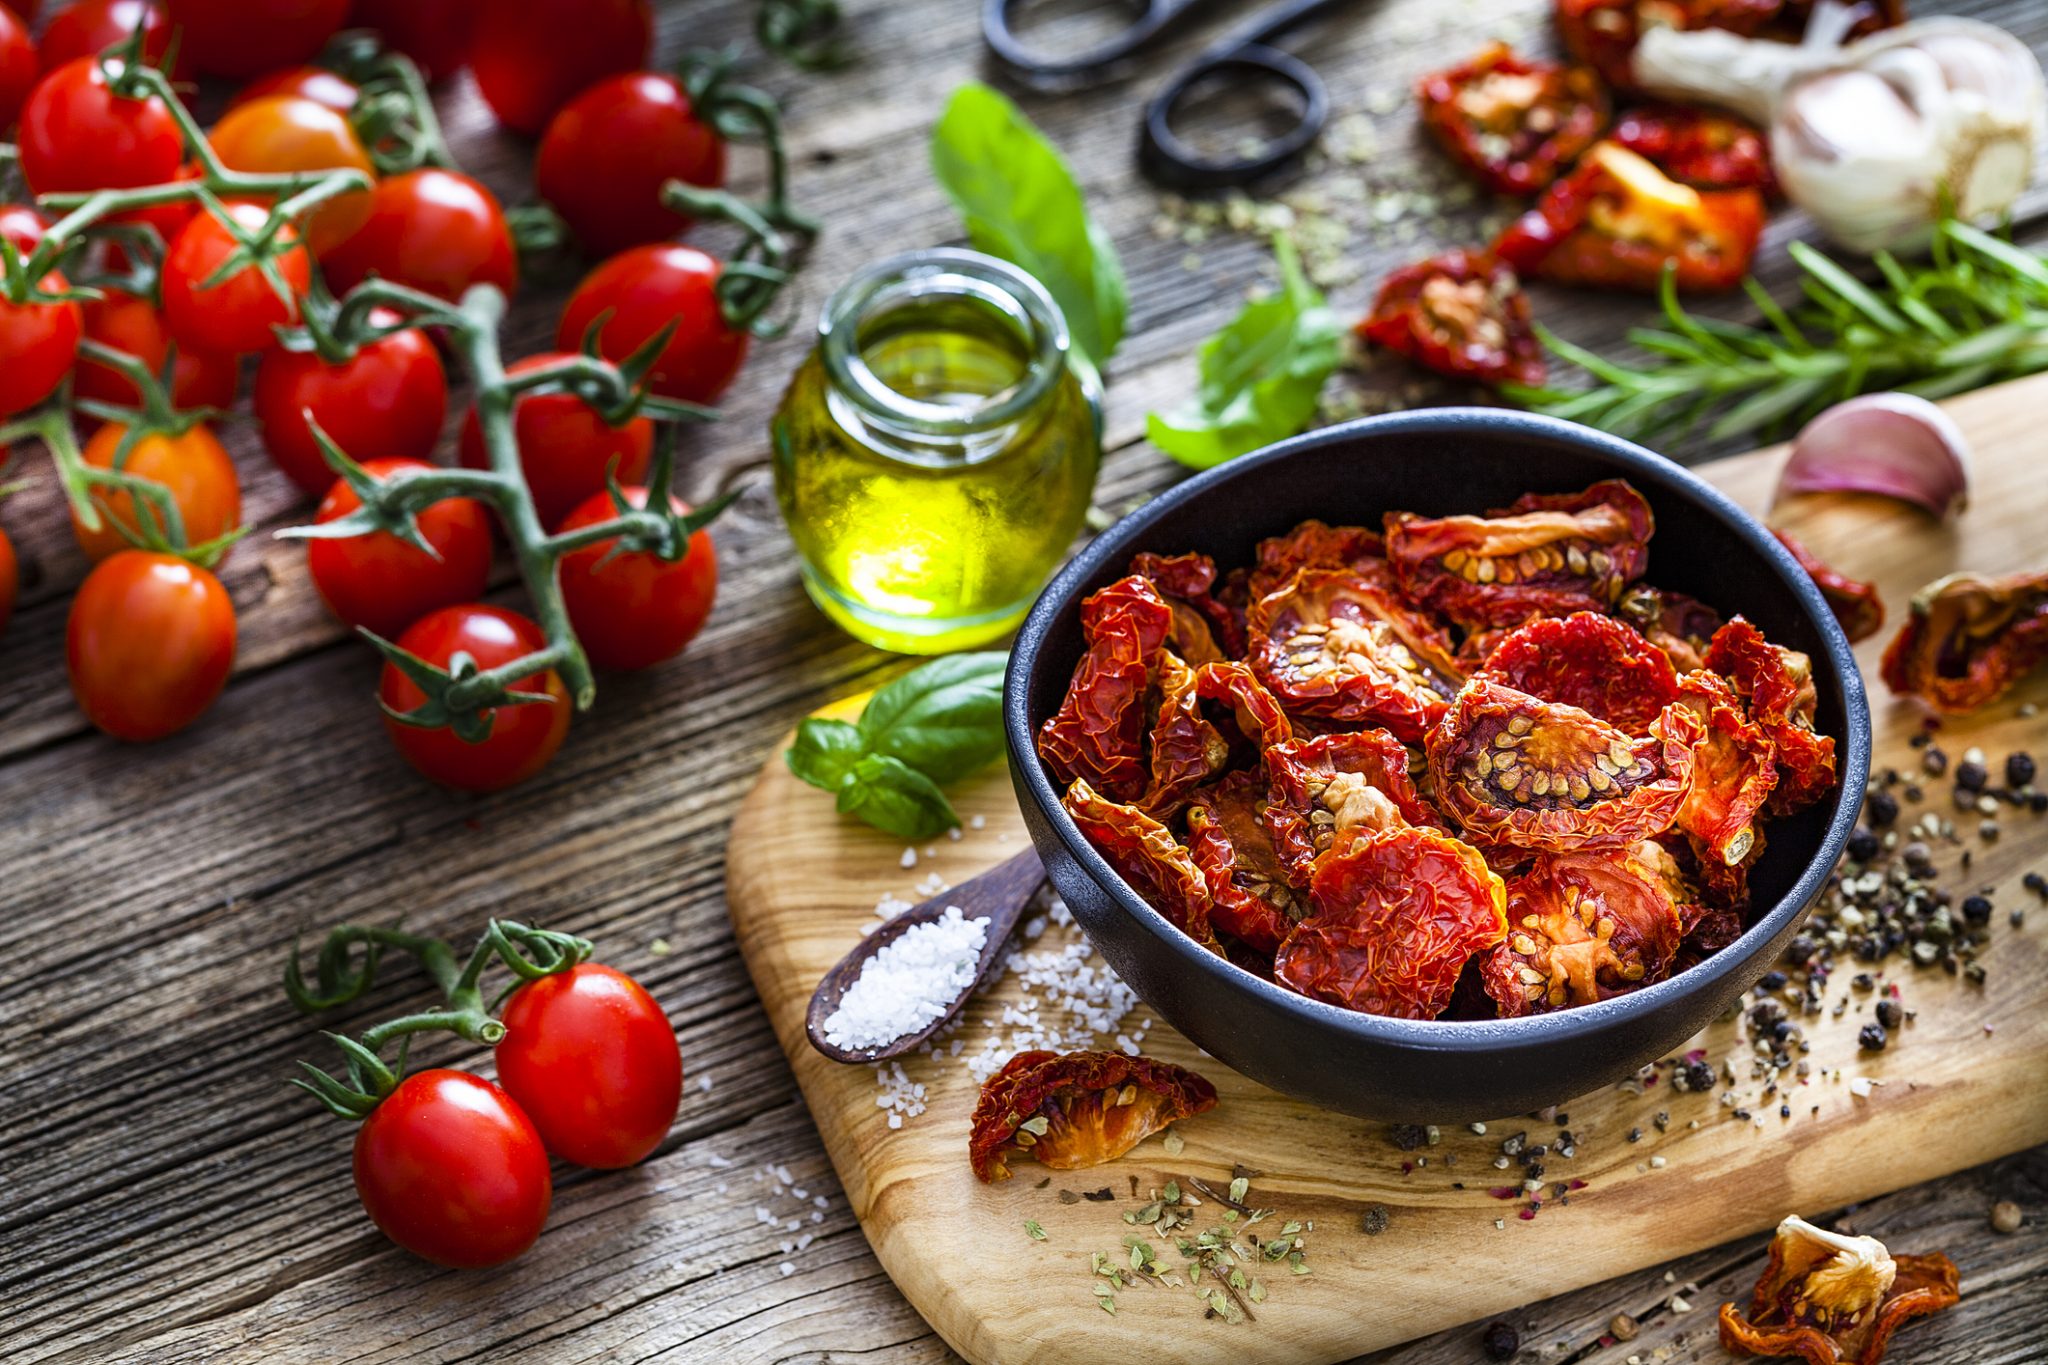
| Tomatoes (for stewing) | Steam or water blanch first; then peel and slice 3⁄4 inch thick. | 3 | 1 |
 Drying Methods
Many methods are available for drying outside and inside, but this document covers only drying in a dehydrator or oven. After preparing your pretreated vegetables, arrange them on drying trays in single or thin layers, 1⁄2 -inch deep or less. Dry in dehydrator or oven as described below. See Table 2 for Steps for Drying.
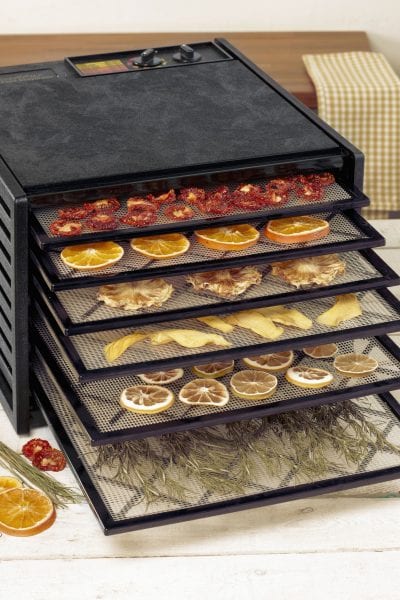
Dehydrator Drying
Electric dehydrators with thermostatic controls are recommended for home food drying. They are relatively inexpensive, convenient for drying large or small batches of food, and easy to use. The best dehydrators have thermostatically controlled heat settings and fans that blow warm air over the food. Some models have a heat source at the bottom and removable, perforated trays (for air circulation) stacked above the heat source. Dehydrators should be used indoors in a dry, well-ventilated room. Food on lower trays near the heat source will often dry more rapidly than food on higher trays, and, therefore, trays should be rotated throughout drying.
Oven Drying
If you do not have access to a food dehydrator, you can use either a gas or electric oven to dry vegetables. Both require careful watching to prevent scorching. Proper temperature and ventilation are important in oven drying.
To oven dry, preheat the oven at the lowest setting (140 to 150 degrees F), then adjust the thermostat and prop the oven door open to achieve a consistent oven temperature of 140 degrees F and to allow moist air to escape.
Conventional ovens may not maintain consistent temperatures at low settings. To ensure maintenance of 140 to 150 degrees F, monitor oven temperature using a calibrated oven thermometer. Place the oven thermometer directly on the oven rack or tray and check it every 2 hours throughout drying.
Place trays of prepared food in oven. Stack the trays with at least 3 inches of clearance at the top and bottom of the oven and 2 1⁄2 inches between trays.
Shift trays, top to bottom and front to back, every half hour. Stir food often if it is 1⁄2 inch deep or more. Single layers need no stirring. Food scorches easily toward the end of the drying time, so turn off the heat when drying is almost complete and open the door wide for an additional hour or so.
Table 2. Steps for Drying Vegetables
*Blanching times are for 3,000 to 5,000 feet. above sea level. Times will be slightly shorter for lower altitudes and slightly longer for higher altitudes or for large quantities of vegetables.
**WARNING: The toxins of poisonous varieties of mushrooms are not destroyed by drying or by cooking. Only an expert can differentiate between poisonous and edible varieties.
| Vegetable | Preparation | Blanching Time* (minutes) | Drying Time* (hours) | Dryness Test |
|---|---|---|---|---|
| Asparagus | Wash thoroughly. Halve large tips. | 4 to 5 | 6 to 10 | Leathery to brittle |
| Beans, green | Wash. Cut in pieces or strips. | 4 | 8 to 14 | Very dry, brittle |
| Beets | Cook as usual. Cool, peel. Cut into shoestring strips 1⁄8′′ thick. | None | 10 to 12 | Brittle. dark red |
| Broccoli | Wash. Trim; cut as for serving. Quarter stalks lengthwise. | 4 | 12 to 15 | Crisp, brittle |
| Brussels sprouts | Wash. Cut in half lengthwise through stem. | 5 to 6 | 12 to 18 | Tough to brittle |
| Cabbage | Wash. Remove outer leaves, quarter, and core. Cut into strips 1⁄8′′ thick. | 4 | 10 to 12 | Crisp, brittle |
| Carrots, parsnips | Use only crisp, tender vegetables. Wash. Cut off roots and tops; peel. Cut in slices or strips 1⁄8′′ thick. | 4 | 6 to 10 | Tough to brittle |
| Cauliflower | Wash. Trim; cut into small pieces. | 4 to 5 | 12 to 15 | Tough to brittle |
| Celery | Trim stalks. Wash stalks and leaves thoroughly. Slice stalks. | 4 | 10 to 16 | Very brittle |
| Chili peppers, green | Wash. To loosen skins, cut slit in skin, then rotate over flame 6 to 8 minutes or scald in boiling water. Peel and split pods. Remove seeds and stem. (Wear gloves if necessary.) | None | 12 to 24 | Crisp, brittle, medium green |
| Chili peppers, red | Wash thoroughly. Slice or leave whole if small. | 4 | 12 to 24 | Shrunken, dark red pods, flexible |
| Corn, cut | Husk, trim. Wash well. Blanch until milk in corn is set. Cut kernels from the cob. | 4 to 6 | 6 to 10 | Crisp, brittle |
| Eggplant | Wash, trim, cut into 1⁄4′′ slices. | 4 | 12 to 14 | Leathery to brittle |
| Horseradish | Wash; remove small rootlets and stubs. Peel or scrape roots. Grate. | None | 6 to 10 | Brittle, powdery |
| Mushrooms** | Scrub. Discard tough, woody stalks. Slice tender stalks 1⁄4′′ thick. Peel large mushrooms; slice. Leave small mushrooms whole. Dip in solution of 1 teaspoon citric acid/quart water 10 minutes. Drain. | None | 8 to 12 | Dry and leathery |
| Okra | Wash thoroughly. Cut into 1⁄2′′ pieces or split lengthwise. | 4 | 8 to 10 | Tough, brittle |
| Onions | Wash; remove outer paper skin. Remove tops and root ends; slice 1/8 ′′ to 1⁄4′′ thick. | 4 | 6 to 10 | Very brittle |
| Parsley; other herbs | Wash thoroughly. Separate clusters. Discard long or tough stems. | 4 | 4 to 6 | Flaky |
| Peas | Shell and wash. | 4 | 8 to 10 | Hard, wrinkled, green |
| Peppers; pimentos | Wash, stem. Remove core and seeds. Cut into 1⁄4′′ to 1⁄2”′′strips or rings. | 4 | 8 to 12 | Tough to brittle |
| Potatoes | Wash, peel. Cut into 1⁄4′′ shoestring strips or 1/8 ′′ thick slices. | 7 | 6 to 10 | Brittle |
| Spinach; greens such as kale, chard, mustard | Trim and wash thoroughly. Shake or pat dry to remove excess moisture. | 4 | 6 to 10 | Crisp |
| Squash, summer or banana | Wash, trim, cut into 1⁄4′′ slices. | 4 | 10 to 16 | Leathery to brittle |
| Squash, winter | Wash rind. Cut into pieces. Remove seeds and cavity pulp. Cut into 1′′ wide strips. Peel rind. Cut strips crosswise into pieces about 1/8 ′′ thick. | 4 | 10 to 16 | Tough to brittle |
| Tomatoes | Steam or dip in boiling water to loosen skins. Chill in cold water. Peel. Slice 1⁄2′′ thick or cut in 3⁄4′′ sections. Dip in solution of 1 teaspoon citric acid/quart water for 10 minutes. | None | 6 to 24 | Crisp |
Post-Drying Treatment
When drying is complete, some pieces will be moister than others due to size and location during drying. Conditioning distributes residual moisture evenly in dried food so there is less chance of spoilage. To condition, place the cooled, dried vegetables in large plastic or glass containers to about two-thirds full. Cover lightly and store in a warm, dry, well-ventilated place for 4 to 10 days. Stir or shake containers daily to separate pieces. If beads of moisture form inside, return the food to the dehydrator for further drying, then repeat the conditioning step. Because vegetables dry to a nearly waterless state, conditioning them is not always necessary.
Testing for Dryness
Vegetables must be dry enough to prevent microbial growth and spoilage. When testing a vegetable for dryness, remove a handful and let it cool a few minutes. Foods that are warm or hot seem softer, moister, and more pliable than they actually are. Vegetables should be hard and brittle when ready for storage.

Storing
A glass jar with a tight-fitting lid is one of the best containers to use. If using a jar that vegetables have been in, wash the jar, lid, and band with hot, soapy water. Rinse and dry thoroughly.
A metal container with a tight-fitting lid is also good if the vegetables are first placed in a plastic freezer bag and then in the container. Moisture vapor–resistant freezer containers with tight-fitting lids can also be used.
Store a dried vegetable in a cool, dry, dark place. Check every week for the first 6 weeks to be sure the vegetable is in good condition. The recommended storage time is 6 to 12 months. Carrots, onions, and cabbage should be used within 6 months.
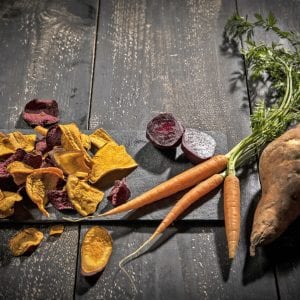
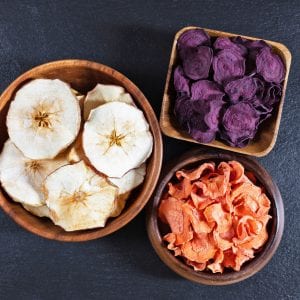
Vegetable Chips
Dehydrated, thinly sliced vegetables or vegetable chips are a nutritious low-calorie snack. They can be served with a favorite dip. Try zucchini, tomato, squash, parsnip, turnip, cucumber, beet, or carrot chips.
Thinly slice vegetables with a food processor, vegetable slicer or sharp knife before drying.
Vegetable Flakes and Powders
Make vegetable flakes by crushing dehydrated vegetables or vegetable leather using a wooden mallet, rolling pin, or your hand. Powders are finer than flakes and are made by using a food mill, food processor, or blender. The most common powders are onion, celery, and tomato.
Table 3. Dried Vegetable Equivalents
| Fresh Produce | Dry Equivalents |
|---|---|
| 1 onion | 1 1⁄2 tablespoon onion powder 1⁄4 cup dried minced onions |
| 1 green pepper | 1⁄4 cup green pepper flakes |
| 1 cup carrots | 4 tablespoons powdered carrots 1⁄2 cup (heaped) dried carrots |
| 1 cup spinach | 2 to 3 tablespoons powdered spinach |
| 1 medium tomato | 1 tablespoon powdered tomato |
| 1⁄2 cup tomato purée | 1 tablespoon powdered tomato |
| 20 pounds tomatoes | 18 ounces dried sliced tomatoes |
Reconstituting
 One cup of dried vegetable reconstitutes to about 2 cups. Root, stem, and seed vegetables should be left 1/2 to 2 hours in enough cold water to keep them covered. After soaking, simmer until tender, allowing excess water to evaporate.
Cabbage and tomatoes do not need to soak. Simply add enough water to keep them covered and simmer until tender.
Dehydrated vegetables are best when used as ingredients for soups, casseroles, sauces, stuffings, and stews.
For more information about growing, preserving, and preparing fruits and vegetables, visit the Alabama Extension Food Safety site at www.aces.edu/go/foodsafety.
Sources
E.L. Andress and J.A. Harrison. 2014. So Easy to Preserve (5th Edition). University of Georgia Cooperative
P. Kendall, Ph.D., R.D., Colorado State University, associate dean of research, food science and human nutrition; P. DiPersio, Colorado State University Ph.D. candidate, food science and human nutrition; and J. Sofos, Colorado State University professor, department of animal sciences. 11/2012 Extension Service
Pamela Schmutz, Retired HGIC Food Safety Specialist, Clemson University E.H. Hoyle, PhD, Emeritus Faculty, Food Safety Specialist, Clemson University
Download a PDF of Drying Vegetables at Home, HE-0361.