Food Safety
By following a few simple steps, you can successfully freeze and store almost any vegetable for up to a year.
When properly selected, prepared, frozen, and stored, vegetables hold their fresh qualities—the flavor, color, texture, and nutritive value does not change. Using a few important techniques to freeze vegetables can help to ensure a quality product.
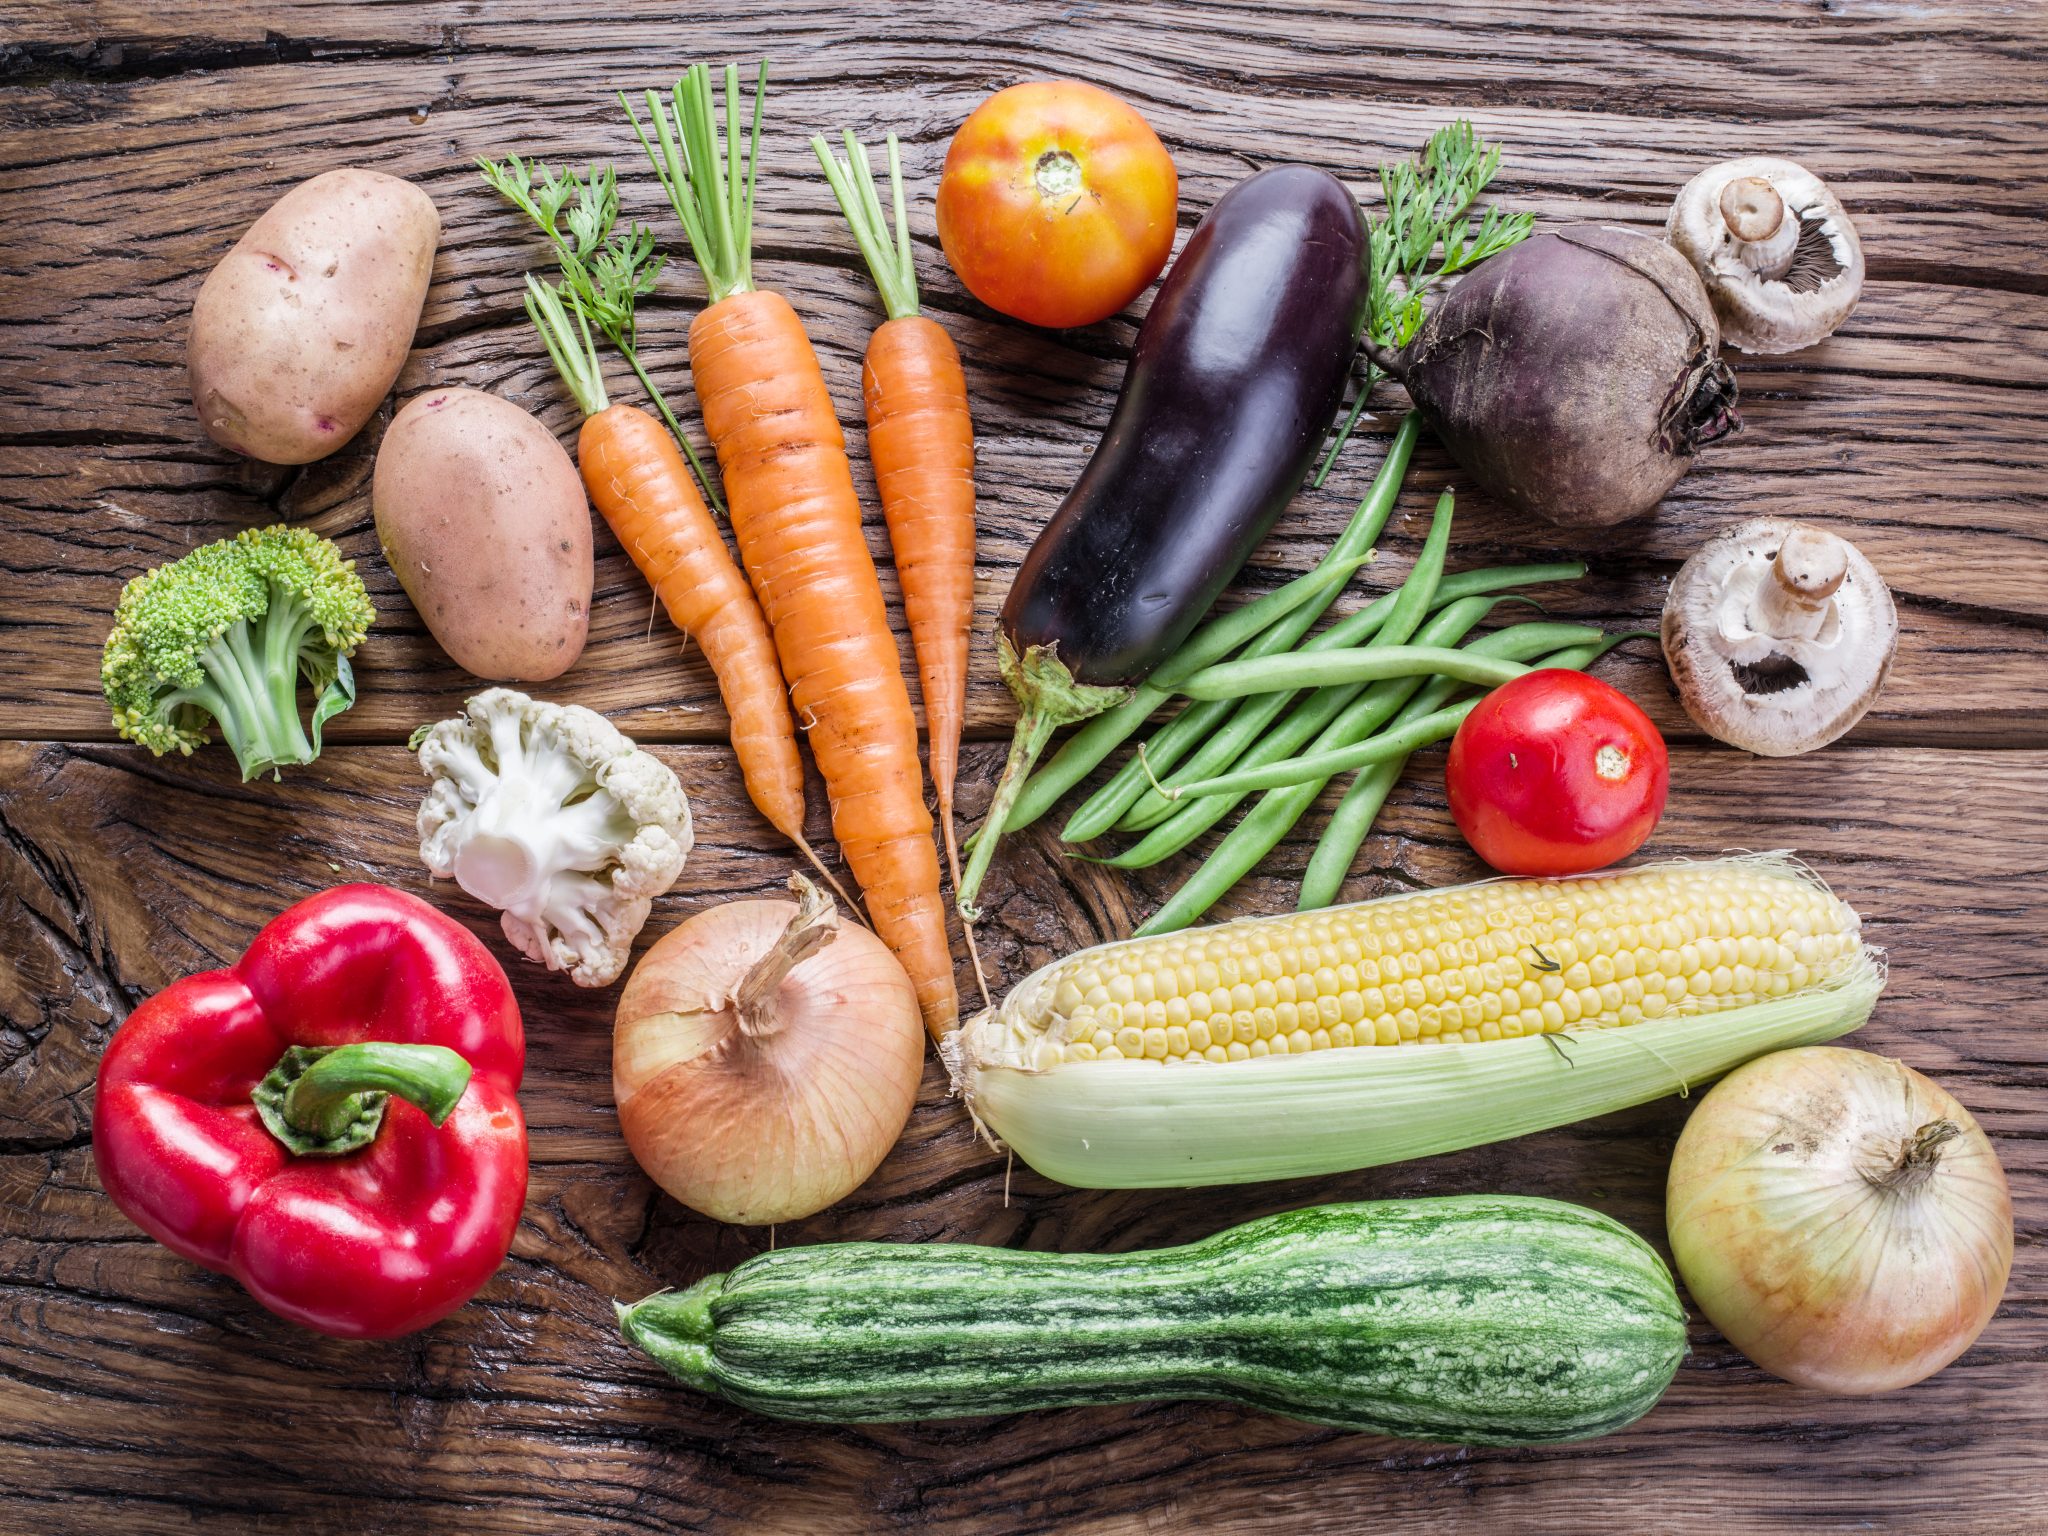
Select Suitable Vegetables
Select the fresh vegetables that your family enjoys eating, focusing on those that are especially suitable for freezing (table 1). Do not put too much importance on varieties; other factors are equally important.
Pick Vegetables at the Right Time
Vegetables that are tender and just mature are best. The fresher the vegetable when put in the freezer, the more satisfactory the product. Vegetables are generally better if picked in the early morning when the dew is just off the vines. The shorter the time between harvesting and freezing, the better the resulting product.
Table 1. Vegetable Varieties for Freezing
| Vegetable | Varieties |
|---|---|
| Beans (bush, snap) | Contender, Black Valentine, Harvester, Top Crop |
| Beans (pole, snap) | Kentucky Wonder 191, Blue Lake 231, McCaslan, Blue Lake (colored) |
| Beans (pole, lima) | Carolina Sieva, Florida Speckled |
| Beets | Detroit Dark Red |
| Carrots | Red Cored Chantenay, Danvers 126 |
| Cauliflower | Snowball |
| Corn | Silver Queen (white) |
| Eggplant | Black Beauty, Florida Highbursh |
| Mustard | Southern Giant Curled, Florida Broadleaf |
| Okra | Clemson Spineless, Emerald |
| Peas (garden) | Little Marvel |
| Peas (field) | White Acre, Pinkeye Purple Hull, Mississippi Silver |
| Pepper (sweet) | Keystone Resistant, Yolo Wonder L |
| Spinach | Bloomsdale Savoy |
| Squash (summer) | Yellow Crookneck, Dixie, Early Prolific |
| Turnip greens | Shogoin (mild), Purple Top White Globe |
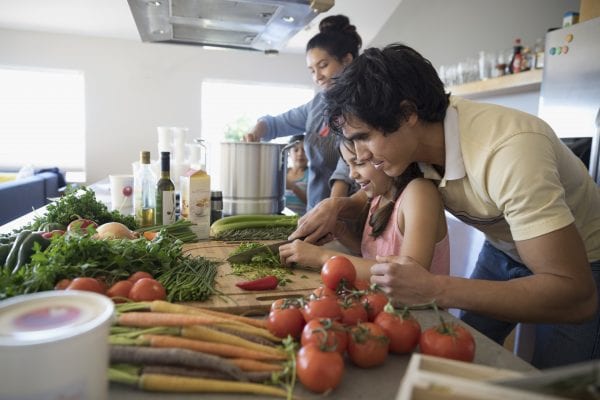
Prepare Vegetables for Freezing
Prepare vegetables for freezing in much the same manner as for cooking. Wash them carefully and thoroughly before starting the preparation. While washing, sort for size and eliminate any inferior vegetables. For best results, freeze only the choice, fresh, tender ones. Sorting by size is important for blanching, and it makes packaging easier. Lift vegetables up and down when washing; this agitates the water and removes trash and dirt.
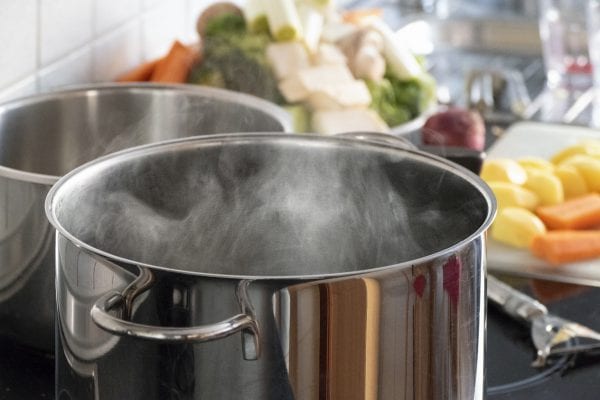
Blanch the Vegetables
Blanching is a critical step that must never be skipped (the exception is bell peppers). It also must be done carefully; otherwise, a poor product will result.
Blanching stops the enzyme action that destroys the fresh flavor in some vegetables. If vegetables are not blanched, enzymes are left in their active state, resulting in a change in flavor and color to the vegetables after about 4 to 6 weeks of freezer storage. An off odor develops that is very noticeable when the vegetable is cooked. Blanching also helps by shrinking some vegetables, making them easier to pack, destroying some organisms (bacteria), and removing surface dirt that might be present.
It is important that only 1 pound (about 1 pint) of vegetables be used in 1 gallon of vigorously boiling water. This may seem like a small amount of vegetables, but you will have a much better product with this proportion. The water must circulate around each piece of vegetable and return to a boil quickly for the enzyme to be destroyed. It does not take more time to blanch 4 quarts of a vegetable using this method than it does to blanch 4 quarts all at one time.
As soon as the gallon of water is boiling vigorously, add the pound (pint) of prepared vegetables, stir, and place the lid on the blancher. Be sure the burner is on high. The water will return to a boil within a minute or less. When the water has returned to a vigorous boil, start timing. Remove the lid and stir so that the pieces don’t clump together. To destroy the enzyme, the inside of the vegetable must reach a temperature of 180 to 190 degrees F. That is why it is important to use a gallon of vigorously boiling water to a pint of vegetables and to start timing only when the water returns to a vigorous boil. When blanching leafy vegetables, use 2 gallons of boiling water to prevent the leaves from matting together.
It is important to follow the recommended blanching time for each vegetable (table 2). Underblanching may stimulate the activity of enzymes and could be worse for vegetable quality than no blanching. Prolonged blanching causes loss of vitamins, minerals, flavor, and color.
Steam Blanching
Steaming can be done in a blancher, a vegetable steamer, or a large pot with a tight-fitting lid. This method is recommended for broccoli, pumpkin, sweet potatoes, and winter squash. They each require 5 minutes of steam blanching. Place the vegetables one layer deep in a wire basket or on a rack positioned 3 inches above 1 to 2 inches of rapidly boiling water. Cover the steamer or pot with the lid as quickly as possible. Begin timing when the steam rises again after the vegetables are placed in the steamer. Promptly cool blanched vegetables.
Steam blanching is tricky and less reliable than water blanching. Care must be taken to see that the layers of vegetables are thin enough so that steam will reach all parts at almost the same time. This method is not satisfactory for leafy green vegetables, because the leaves tend to mat together.
Microwave Blanching
This method is not recommended. Research shows that some enzymes may not be destroyed by microwave blanching. It also may result in off flavors and loss of texture and color. While it might seem to be an efficient method, microwave blanching does not save time or energy.
Table 2. Blanching Time for Vegetables
| Vegetable | Time in Vigorously Boiling Water |
|---|---|
| Asparagus spears | 2 to 4 minutes |
| Beans (lima) | 2 to 4 minutes |
| Beans (snap) | 3 minutes |
| Cabbage | 1 1⁄2 minutes |
| Carrots | 2 to 5 minutes |
| Cauliflower | 3 minutes |
| Corn (on cob) | 7 to 11 minutes |
| Corn (whole kernel) | 4 minutes |
| Corn (cream style) | 4 minutes |
| Eggplant slices | 4 minutes |
| Greens (mustard, spinach, turnip) | 2 minutes |
| Greens (collard) | 3 minutes |
| Peas (English or field) | 2 minutes |
| Okra | 3 to 4 minutes |
| Potatoes | 4 to 7 minutes |
| Squash | 3 minutes |
| Sweet potato slices | 5 minutes |
See Extension publication HE-0001, “Home Food Preservation” for other vegetables.
Cool Vegetables Before Packaging
Blanched vegetables need to be cooled as quickly as possible to stop the cooking process. This also eliminates some spoilage organisms that live at temperatures above 100 degrees F. Remove the blanched vegetables from the boiling water and place them in a large pan of ice water. It generally takes 3 to 4 minutes to cool the vegetables. Be sure to have enough ice made for the day. Covered containers of water can be placed in the freezer a day or so earlier to ensure an adequate supply of ice.
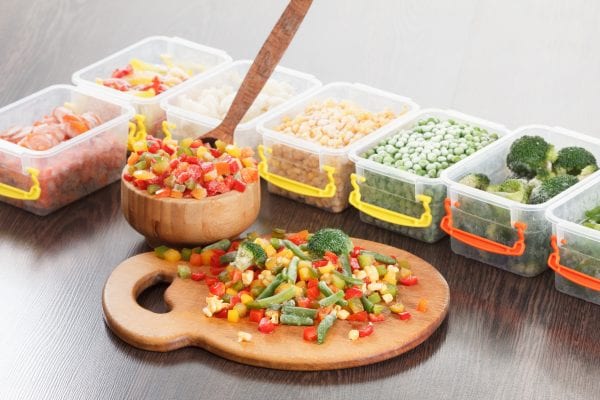
Package and Label Vegetables
Immediately after cooling, pack the vegetable in meal- size portions. If packaging lima beans, peas, or snap beans, add enough ice-cold water to just cover the vegetables. This removes air and helps to preserve the characteristic color and flavor of the vegetable.
Any food designated for freezing should be packaged in moisture- and vapor-proof freezer containers—moisture- proof so that the food will not dry out; vapor-proof so that oxygen will not penetrate the package and cause the fat to develop an off flavor. (Peas, lima beans, etc., all have some fat content.) Vapor proofing also prevents odors of other foods from penetrating the package. Pack foods tightly, getting out as much air as possible from the package. Do not freeze vegetables in containers with a capacity of more than half a gallon.
Other features to look for in freezer containers include the following: (1) odor-free, (2) will not crack at 0 degrees F, and (3) grease-, oil-, and waterproof. Two of the most common freezer containers for vegetables are rigid containers and flexible bags or wrappings.
Rigid Containers
Most foods can be stored in rigid containers. They stack well and can be reused. They are especially good for foods that contain liquids. In most cases, foods packed in liquids should not be frozen in glass jars. Round containers generally take more freezer space.
The most popular rigid container is made of moisture- and vapor-resistant plastic with a snap-on lid. With proper care, plastic containers can be used for years. Wash lids in warm, never hot, water. Be careful as you remove the lid from the container; the lid may stretch and not fit securely, rendering it not airtight. It is best to let cold water run over the lid before removing. If the lid stretches, use freezer tape to seal it securely on the container.
If using glass jars, be sure to choose the wide-mouth, dual-purpose jars designed for freezing and canning. These jars are specially made to withstand freezing and boiling temperatures. The wide mouth allows removal of partially thawed foods and gives room for expansion during freezing. Allow at least 1 inch of headspace when freezing in glass. Use new lids each time, and rinse them in cold tap water before applying to the jar mouth.
If using a standard canning jar with a standard-size opening, do not fill quite to the shoulder of the jar. Standard pint canning jars with tapering sides can be filled to within 1⁄2 inch of the top for dry packs and 3⁄4 inch for those with liquid (quarts need 1 inch). Use new, flat lids each time. Scald them before placing on the jar.
A wax-type carton usually cannot be sealed airtight, plus the wax comes off easily at 0 degrees F. This is especially true of milk containers. Some of these are plastic coated, but the lid does not fit airtight, and the plastic coating may not always be moisture- and vapor-proof. Milk cartons are made to hold milk for about 1 week at refrigerator temperature—not at 0 degrees.
Pack vegetables firmly in the freezer container to remove as much air as possible; air dries out the food. Leave about 1⁄2 inch headspace in most dry packs. If cold water is added to snap beans, peas, or lima beans after they are packed, allow 3⁄4 to 1 inch headspace.
Flexible Bags
Flexible freezer bags and moisture- and vapor-resistant wrapping materials, such as plastic freezer wrap, freezer paper, and heavyweight aluminum foil, are suitable for dry- packed products with little or no liquid. Bags and wraps work well for foods with irregular shapes. Bags also can be used for liquid packs.
Plastic freezer bags are available in a variety of sizes. When sealing a freezer bag, press out any air that might be trapped in the bag. Leave about 1⁄2 inch empty space from the food to the top of the bag. This headspace will allow the food to expand during freezing.
Write on the bag the name of the product, any added ingredients, freezing date, the number of servings or amount, and the form of food (whole, sliced, etc.). Use freezer tape, marking pens or crayons, or gummed labels that are made especially for freezer use.
Flash-Freeze the Vegetables
Freeze vegetables as quickly as possible. Zero degrees F or below is best. Slow freezing causes cells to break down, and they do not hold the juice upon cooking. The vegetable generally will be soft and flabby.
Poor quality will result if you try to freeze too many vegetables at one time. Do not add more than 2 to 3 pounds of unfrozen food per cubic foot of freezer space. If you have a 20 cubic foot freezer, add only 40 to 60 pints of unfrozen vegetables at one time. More food can be safely added 12 to 24 hours later. Place unfrozen food in the coldest part of the freezer, which is generally the sides and bottom of a chest-type freezer and on certain freezing shelves in an upright.
Leave an air space between each package so that they freeze quickly. After the packages are completely frozen, they can be stored closely together.
Store Vegetables Properly
The colder the freezer temperature, the better it is for the food. Never let the temperature get above 0 degrees F. Frozen vegetables lose color, flavor, and nutritive value when stored at temperatures above 0 degrees F. Vegetables can be stored for 8 to 12 months in the freezer.
Prepare Vegetables for Cooking
Most vegetables can be cooked without thawing. However, corn on the cob, cauliflower, broccoli, and leafy vegetables, cook more uniformly if partly thawed. It is best to thaw food in the refrigerator. Do not overcook frozen vegetables, especially snap beans; they will be too soft.
Follow All Steps
Perform each of these simple steps and you will achieve the best quality frozen fresh vegetables:
- Use mature, yet tender, vegetables
- Blanch correctly
- Cool quickly
- Package in moisture- and vapor-proof freezer material
- Remove air from package
- Seal and label
- Freeze in coldest part of freezer
- Store at 0 degrees F or below
- Use within 12 months
Edited by Bridgette Brannon, Regional Extension Agent, Auburn University. Written by Evelyn Crayton and Isabelle Downey, both former Extension Specialists with Auburn University.
Reviewed November 2023, Freezing Summer’s Bounty of Vegetables, HE-0016-A